
Need a break from your studio space? On the go and need to set up a photoshoot on the fly wherever you are? You can transform any room into a mini photo studio!
I usually shoot in my studio that’s filled with tens of thousands of dollars worth of gear that I’ve invested in over the years. (Which you can see in this TikTok!) But that wasn’t always the case, especially when I first started my biz. So I wanted to show you all how you can quickly set up a DIY photo studio with no equipment and no dedicated studio space.
@lishcreativeAny room can be a photo studio! 📸👍##learnontiktok ##photohack ##smallbusiness ##Tiktokdiy ##productphotography ##phototips♬ Up Beat (Married Life) – Kenyi
I hope this is helpful for anyone just starting out as a photographer. Let’s get to it!
What you’ll need
 Phone
Phone
Banner paper
Foam board
If you’re not sure where to get banner paper or foam board, check out my Amazon Favorites page! I’ve linked my go-to picks for photo backgrounds, gear, props, studio decor, and phone accessories.
Banner paper and foam board are also pretty easy to find at your local arts and crafts store or hardware supply shop! Pro tip: Buy the thicker banner paper, which doesn’t wrinkle as easily.
Got all your supplies? Good! Now it’s time to set up your photo shoot.
Choose a room with a window
In my TikTok, you can see that I picked a spare bedroom in my home for my DIY studio. It has nice big windows that fill the room with light. You can pick any room with a window for your shoot.
Lay down banner paper
Set up your banner paper next to the window for the best lighting. If you have long, tall windows like mine, tape one end of the paper roll to any piece of furniture and let the rest of it unroll onto the floor.
If you have high windows, set up your banner paper on a table or counter and tape the end to a wall or cabinet. You want the best natural lighting for your shoot possible!
Prop up your foam board
Next, prop up your foam board across from your window. When you put it in this position, the board bounces natural light from the window onto whatever you’re shooting.
Tip: If you’re taking flat overhead shots of items, you can lay one foam board right on the ground and put your product on top of it.
Shoot and edit!
You’re ready to shoot! If your banner paper edges are visible or your lighting isn’t quite right, don’t worry. You can easily edit all that.
When I’m shooting with my phone, I like to edit with Snapseed, a free photo editing app by Google that’s available for iOS and Android. The selective brightening feature in Snapseed is such a handy tool for when you have tricky lighting in your shots!
Learn more photography & styling tricks
That’s it! Easy, right? This goes to show that you can set up a photoshoot wherever you are and turn out some great photos. You don’t always need fancy gear or lots of space to do it.
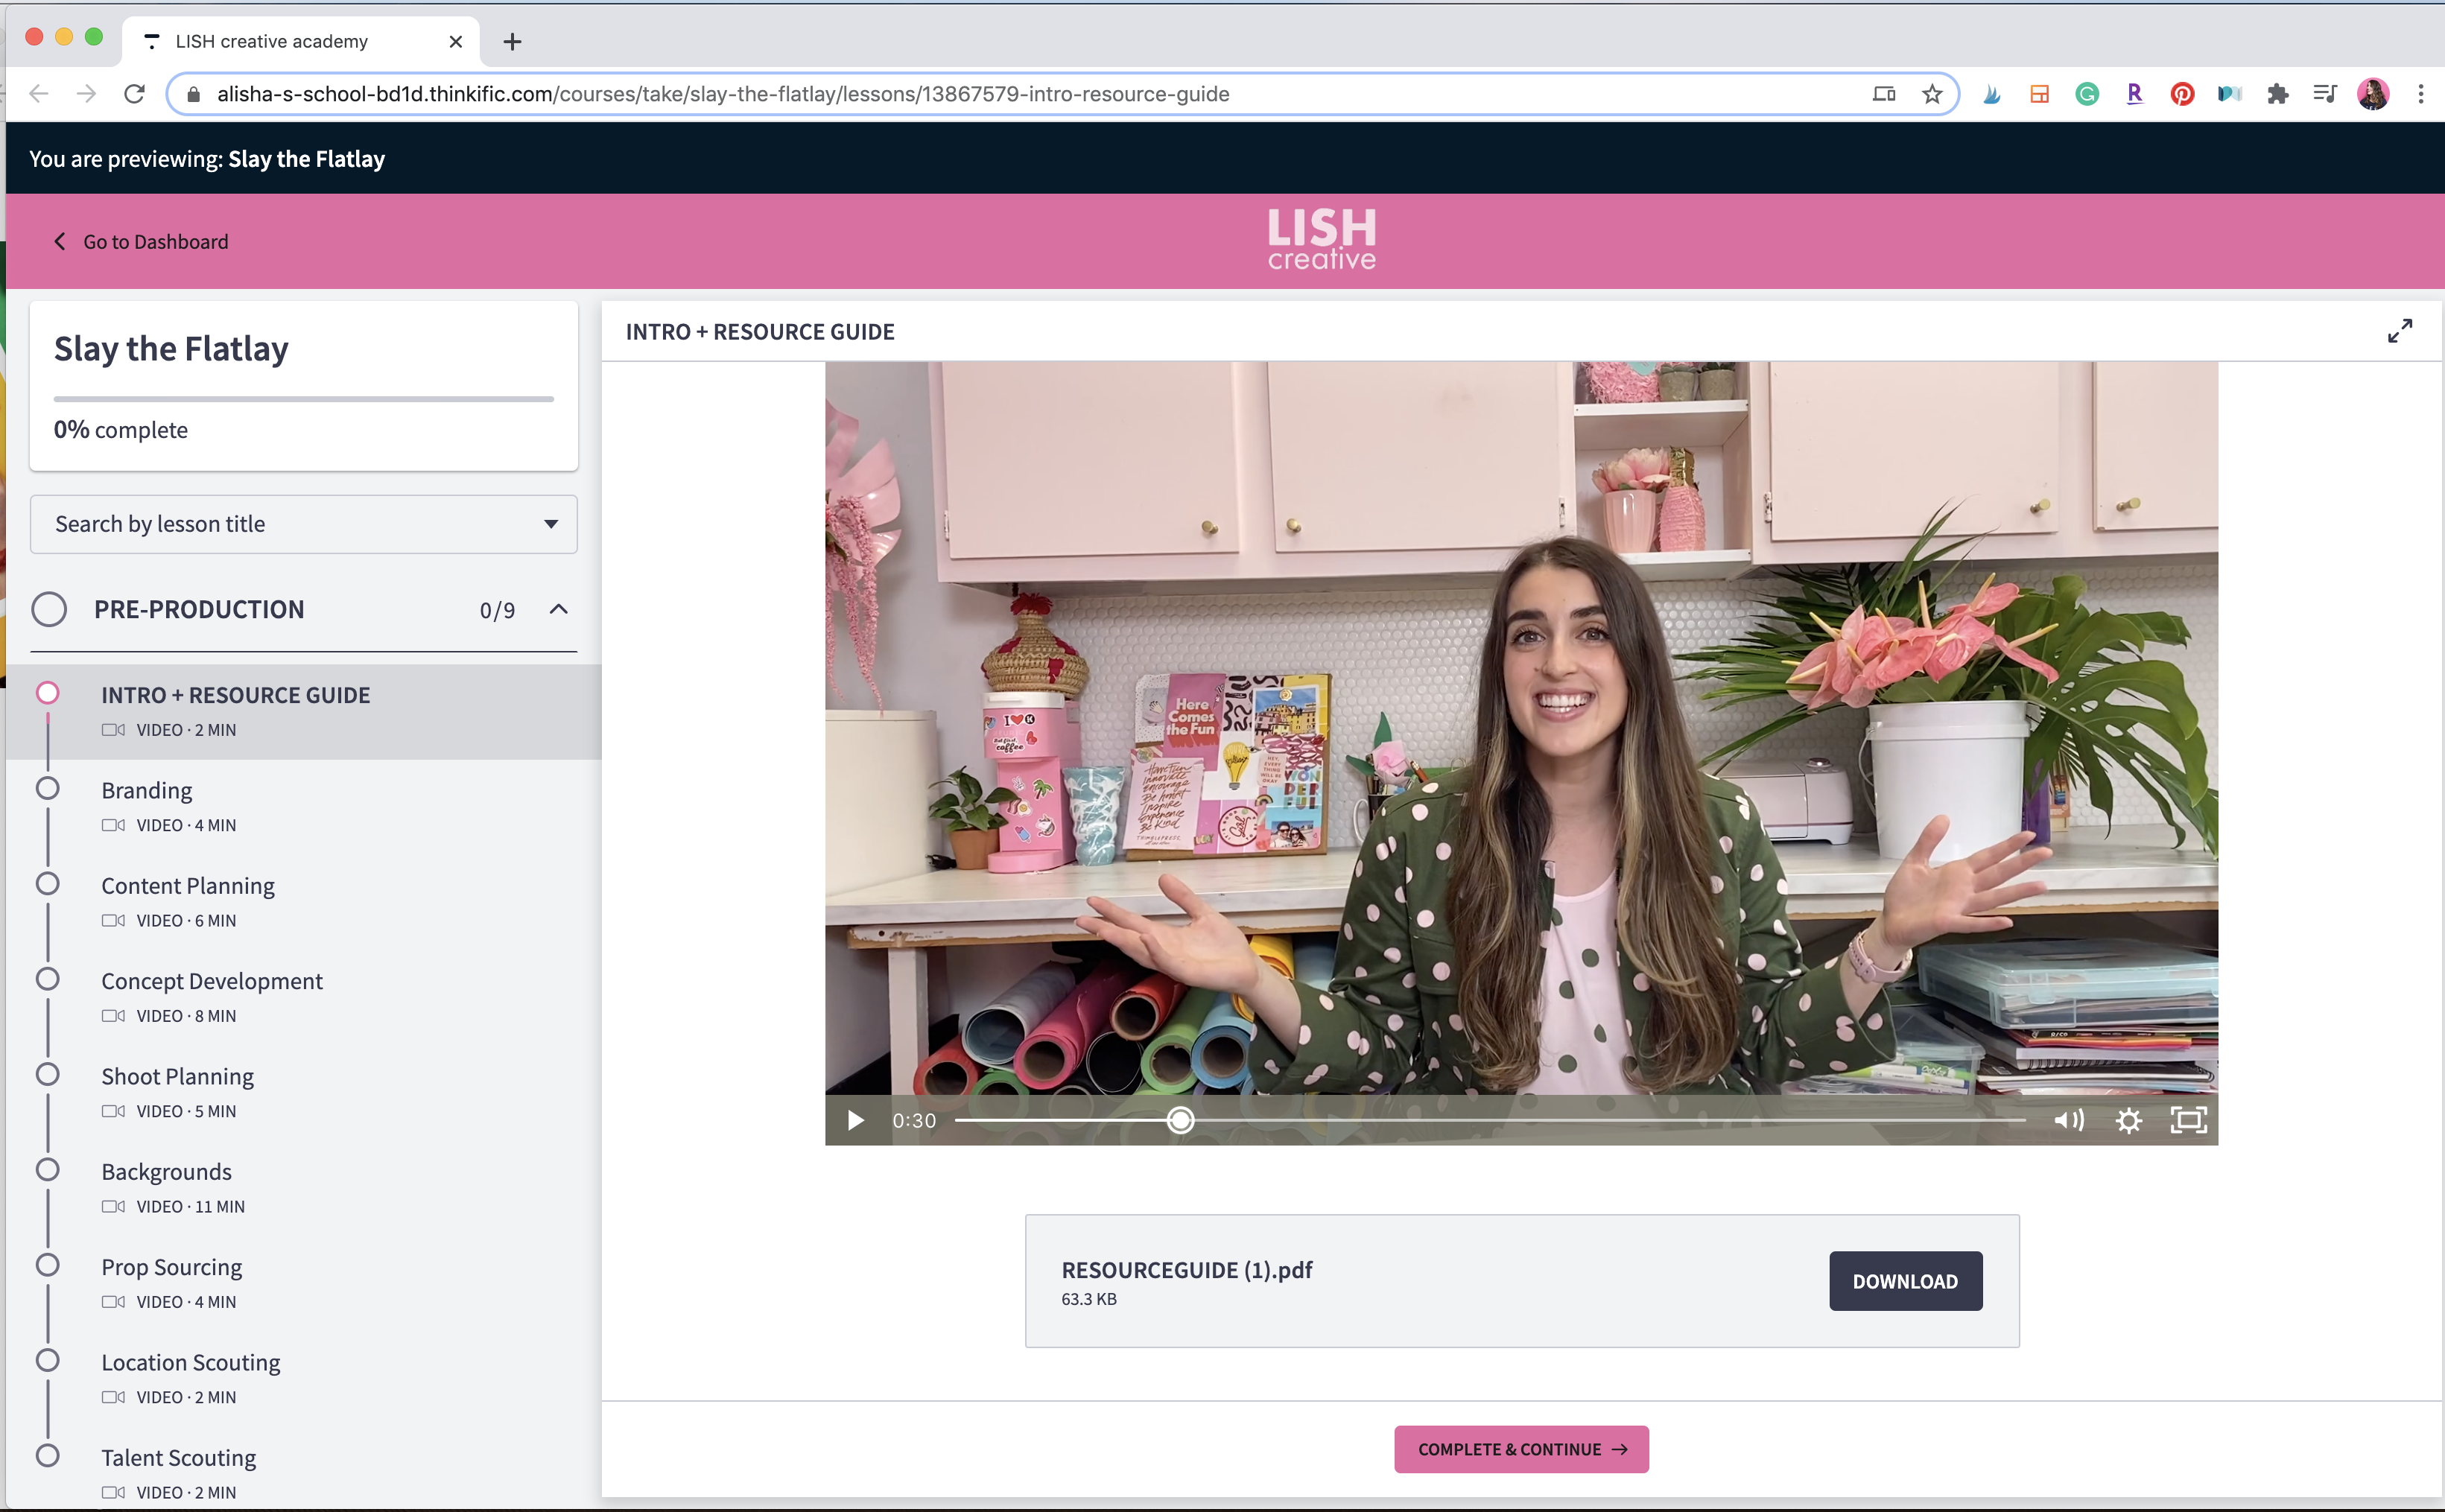
Itching to learn even more photo hacks and behind-the-scenes tips like this? Then you’ll like my course, Slay the Flatlay! Slay the Flatlay is an all-in-one resource for photography, styling, and stop-motion animation. It’s perfect for aspiring photographers, food or lifestyle bloggers, stylists, content creators, and other creative entrepreneurs like you.
Save $50 on the course with the code SLAY and sign up here!
")
")
