
Aperture 101
I’ve been sharing little photography class refreshers on TikTok, plus more detailed posts about shutter speed and manual mode on the blog. You all seem to like these mini lessons on photography basics, so today, we’re talking about one of the three most important settings on your DSLR: aperture!
What is aperture?
Let’s recap what aperture is. Aperture controls how much light passes through your lens at your chosen shutter speed. It’s displayed as “f/x” or f-x” where x is a number. That’s why aperture is also referred to as f-stop, f/stop, or f/number.
If you don’t change any other settings on your camera, a small aperture (meaning a higher f-stop) will let in less light than a larger one.
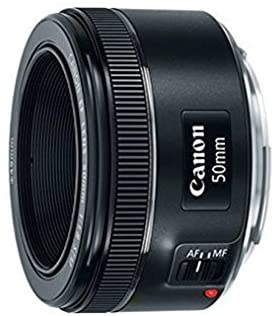
If you buy a camera lens with an f-stop number in its name, the lowest your camera will go in aperture is that number. Take my favorite lens for newbie photographers, the Canon EF EOS 50mm f/1.8 STM. Its lowest aperture setting is 1.8.
Let’s talk more about f-stop numbers
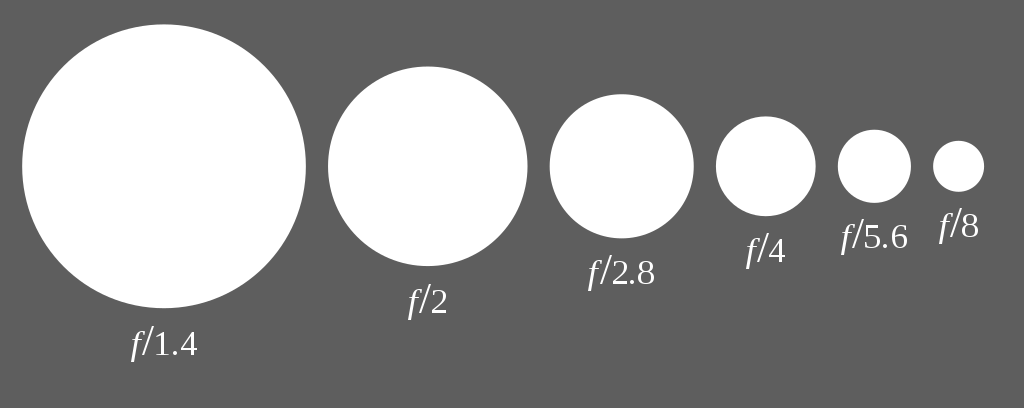
What do the f-stop numbers actually mean? In a nutshell, the f-number is the ratio of the lens focal length to the diameter of the entrance pupil. That’s why you get weird decimals and whole numbers like f/1.8, f/4, f/5.6, f/8, and so on.
The good news is, you don’t need to remember the technical definition of aperture to put it to use. Here’s a good rule of thumb: The lower your f-stop, the blurrier your background will be. The higher your f-stop, the more your entire shot will be in focus.
Don’t forget that aperture also affects brightness, not just blurriness! The lower your number, the more light you let in, and the brighter your photo will be. This handy diagram of f-stops can help you see the relationship between f-number, light, and depth of field.
Practice aperture with an iPhone
An iPhone can help you get comfortable with aperture on your DSLR camera! Grab your phone (or borrow a friend’s) and set your camera to Portrait Mode.
Tap the f in a circle in the upper right corner, above the grid. It looks just like the “f/x” setting on your camera, where x is a number.
Now, play around with the f-numbers below the grid and above the shutter button. See how your background gets blurry when the number is low, and crisp and clear when the number is high? Pretty cool!
Want more photography tips?
Playing around with an iPhone and practicing with your DSLR will help you become more comfortable adjusting your camera settings. But it’s also nice to have a go-to photography resource that covers all the basics. My course, Slay the Flatlay, can help!

With over 4 hours of content and over 20 modules, Slay the Flatlay teaches you all about camera settings, styling and composition, shoot planning, and so much more. It’s made for aspiring photographers like you, but also bloggers, content creators, small business owners, and other creatives.
Want to learn more about the course? Ready to join? Save $50 at signup by using the code SLAY and head over here!
")
")
