
What does it mean to be a real, professional photographer? To be more specific, do “real photographers” only use certain types of camera modes? Like, for example, manual mode?
My short answer? No way!
Most DSLR cameras come with four main types of camera modes, and there are pros and cons to using them all. Preferring one mode over another doesn’t make you official or a total beginner. Whichever mode you choose is up to you.

You can see from the title of this blog that I do have a favorite camera mode, and I’ll explain why it’s my fave soon. But if you’re totally new to photography and don’t know the different types of camera modes, I’m here to help you out. Read on!
Programmed Automatic
Our first mode is Programmed Automatic, also called Program, Automatic, or Auto for short. You’ll usually see it abbreviated as “P” on your camera dial or settings.
In Auto mode, your camera automatically chooses your shutter speed and aperture for the best exposure, based on whatever scene you have framed. All you have to do is point and shoot. You can change the settings on some cameras, but your camera will automatically tweak other settings to compensate.
Auto mode is great for when you’re just starting to get comfortable with your camera or you’re brand new to photography. It’s also handy if you need to take a photo really quickly and don’t want to fuss with your settings. (Speaking of settings, check out this blog if you need a refresher on which setting does what.)
Shutter Priority
With Shutter Priority mode, abbreviated as “S” or “Tv” on your camera, you manually set your camera’s shutter speed, and it’ll automatically pick the best aperture for you.
Pick a fast shutter speed and it’ll probably choose a wide aperture. Slow shutter speed? Narrow aperture. Shutter Priority works well for when you want to capture motion, like when shooting sports or moving animals.
You get a bit more control with Shutter Priority, but only over one setting. Your camera determines the best aperture based on the amount of light in the scene, so you run the risk of overexposing or underexposing your shot.
Aperture Priority
Think of Aperture Priority as the reverse of Shutter Priority. In this setting, you choose the lens aperture and your camera automatically picks the best shutter speed for you. It’s usually abbreviated as “A” or “Av.”
Unlike Shutter Priority, with Aperture Priority you can play with depth of field, creating a dreamy portrait with a blurred background or a crisp, clear wide shot. There’s also a lower risk of underexposure or overexposure since you control how much light you’re letting in.
I know lots of professional photographers like using Aperture Priority because they can focus on adjusting the depth of field that they want, and they get awesome results.
Manual Mode
Our fourth and final mode is my favorite: Manual Mode. Abbreviated as “M” on your camera, you have full control over shutter speed and aperture with this mode. You can use Manual Mode for any situation, but it’s especially handy for night photography or extreme lighting situations.
Full control over your camera sounds cool in theory, but it can be intimidating and overwhelming when you start to use Manual Mode. However, it’s worth it when you can create that perfect image you envision in your head. And once you start getting comfortable with Manual Mode, it can be tough going back to other modes!
My suggestion for working up to Manual Mode? Play around with the other types of camera modes first when you’re just starting out with photography. Use Auto to get used to your new DSLR. Take lots of photos of different subjects in different lighting scenarios and see how they come out.
Then, give Shutter Priority and Aperture Priority a try! Once you get comfortable adjusting shutter speed or aperture, you’ll eventually be ready to control both settings with Manual Mode.
Need help navigating Manual Mode?
There are a lot of settings to figure out when you use Manual Mode, but in the beginning, you really only have to pay attention to three: shutter speed, aperture, and ISO. These three, also called “the Exposure Triangle,” will give you well-lit, clear, and beautiful shots.
Camera settings are not always intuitive though, and it’s super easy to mix them up. That’s why I created a handy Manual Mode Cheat Sheet to help you!
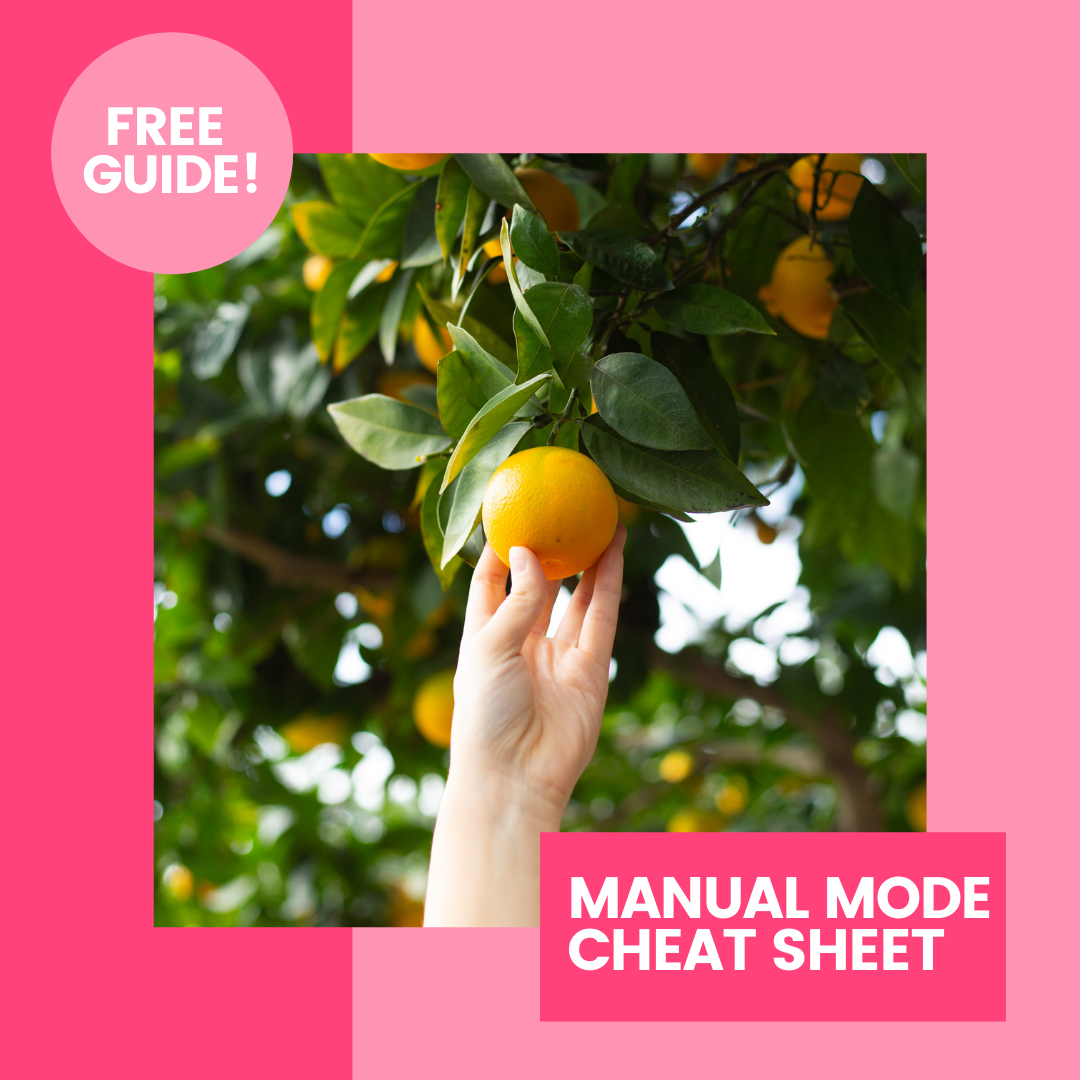
Print it out, stick it in your camera bag, or keep it on your phone for reference. You’ll never forget how to use shutter speed, aperture, and ISO again with the Manual Mode Cheat Sheet by your side!
You can download the cheat sheet here!
")
")
