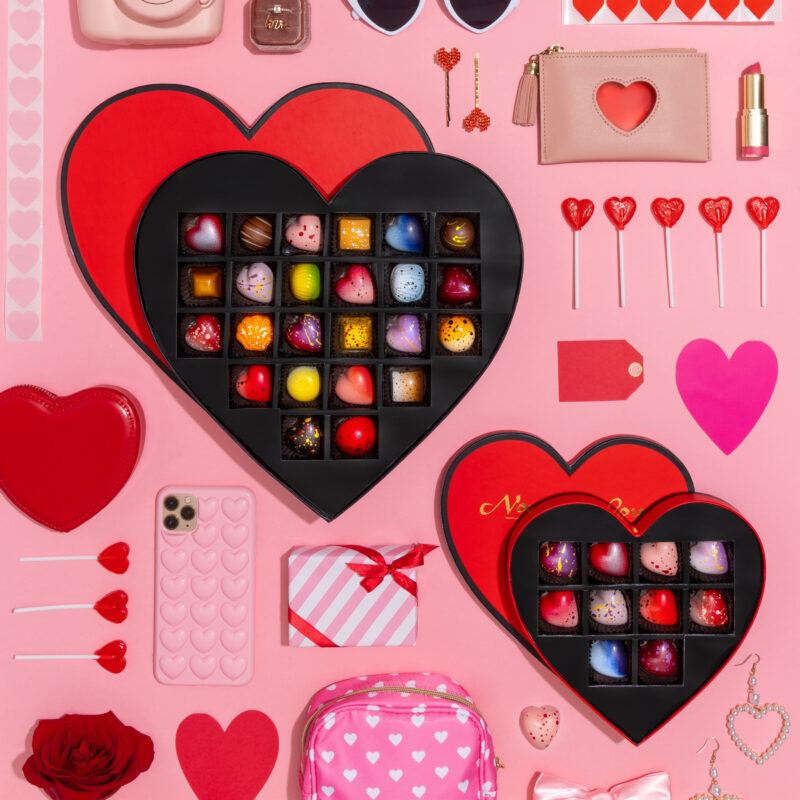
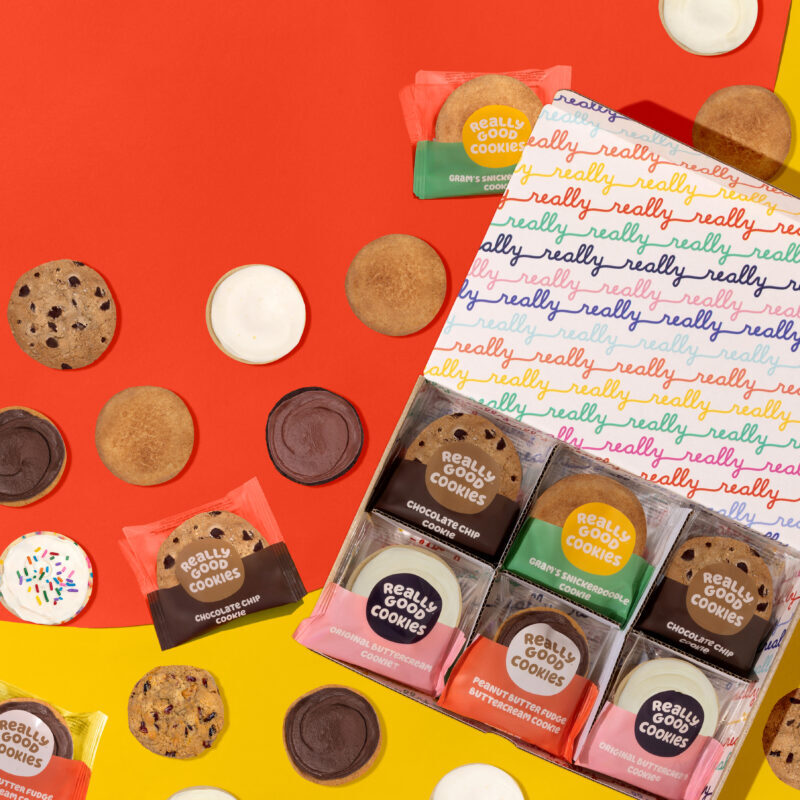
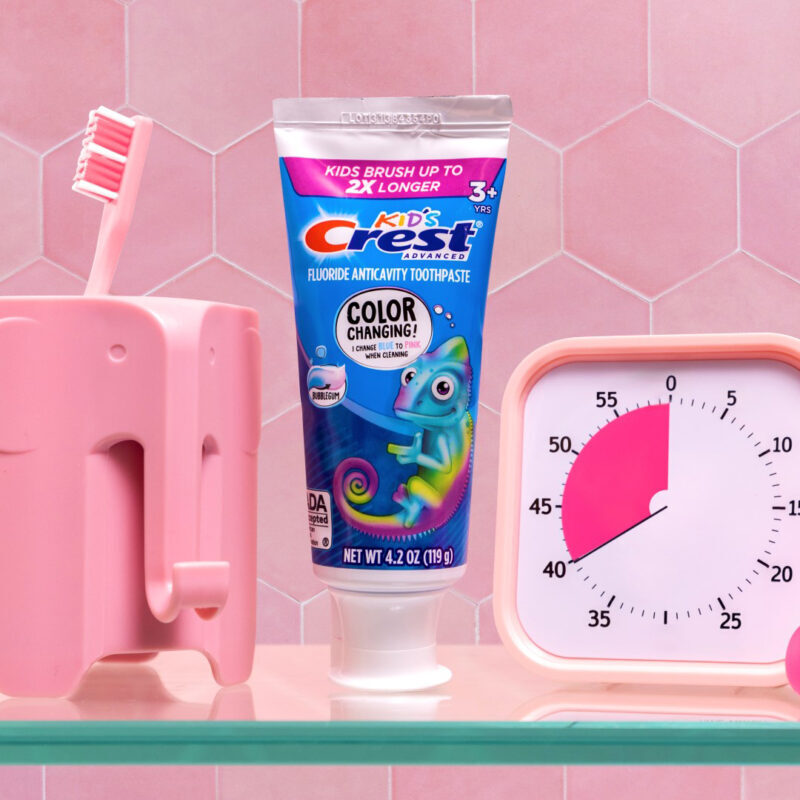
Flatlays. We all love ‘em! There’s just something aesthetically pleasing about looking at objects arranged on a flat surface, right?
Flatlay photos are a really cool way to tell a story or create a specific message with a variety of items. If you follow LISH Creative on Instagram, you’ve probably seen all kinds of flatlays that tell different stories!
Like this ode to the color green. Or a festive shot of wrapping gifts for the holidays. Or this beachy photo that has me wishing for warm weather!
No matter what story you tell in your flatlay photo, it’ll only work if everything is in focus. And for newbie photographers, shooting multiple items at different heights can get really tricky.
Don’t worry — I got your back! Here are some tricks for getting everything in your flatlay in focus.
@lishcreativeThis is a must-have for perfect flatlays!#tiktokpartner #learnontiktok #smallbusiness #phototips #photography♬ Clock It – Clutch
EMBED TIKTOK
Increase your f-stop
Remember, your f-stop (or f-number) represents the size of your aperture. Your aperture influences your depth of field, or how much of your subject is in focus.
Got a shallow depth of field with a lower f-stop? The object closest to your camera will be in focus and the rest will be blurry. Got a larger depth of field? More of the objects in your frame will be in focus.
So, to get everything in your flatlay photo in focus, you need to increase your f-stop. If you started out with f/4, up it to f/8 or f/16 to see if that decreases blurriness in your flatlay.
Extra tips
Since raising aperture will darken your image, you’ll need to adjust shutter speed and ISO to make up for it. Lower your shutter speed to leave the shutter open for longer, letting more light into your photo. One caution – increasing ISO can lead to noise, so increase as a last resort. Instead, try using brighter lights.
Wanna learn how to improve your photography skills?
Getting used to adjusting f-stop, ISO, and shutter speed takes practice if you’re new to photography! But that’s what makes it fun, and you’ll get better and better at knowing which settings to use for certain situations and types of photos.
And a little trial-and-error is worth it to create a nice, crisp flatlay with everything in focus!
If you’re itching to learn more about photography, like lighting options, styling and composition, backgrounds, or prop sourcing, join my course, Slay the Flatlay! With 22 modules and over 4 hours of content, my course is perfect for aspiring photographers. Use code SLAY to get $50 off and sign up today!


