
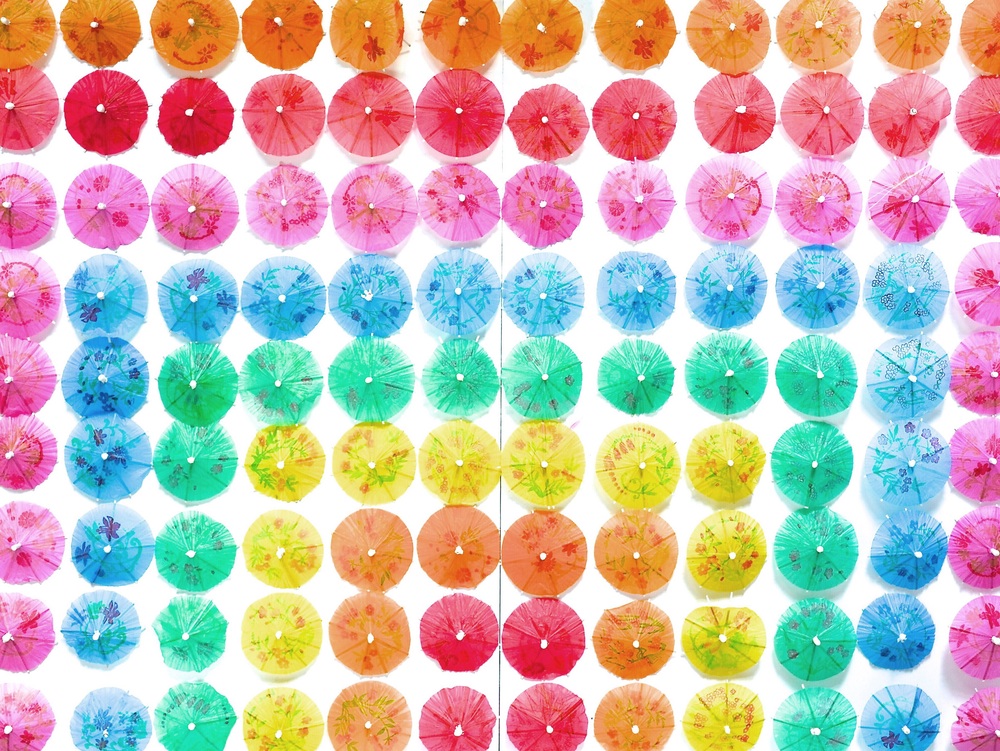
If you’ve seen any images from the #LABrunchParty, there’s a good chance you caught a peek of my rainbow drink umbrella photo backdrop. And now, I’m giving you all the details on how to make one for yourself! Whether you’re looking to add a quick pop of color to a brunch party, cocktail party, birthday party, or even a rad wedding, this umbrella backdrop is sure to step in and steal the show! The best part? It is completely versatile and can be reimagined for any and every different event by swapping out colors and switching up patterns! I can already picture a pure pink umbrella wall for a sweet little girl’s baby shower, or a wall of beachy blues for a nautical-themed soirée!
 P/C Natasha Martin @violettinder
Materials:
2 – 20×30″ 1/13″ Foam boards (this is the standard size that can be purchased from most craft stores, but feel free to go bigger and adjust measurements/quantities accordingly)
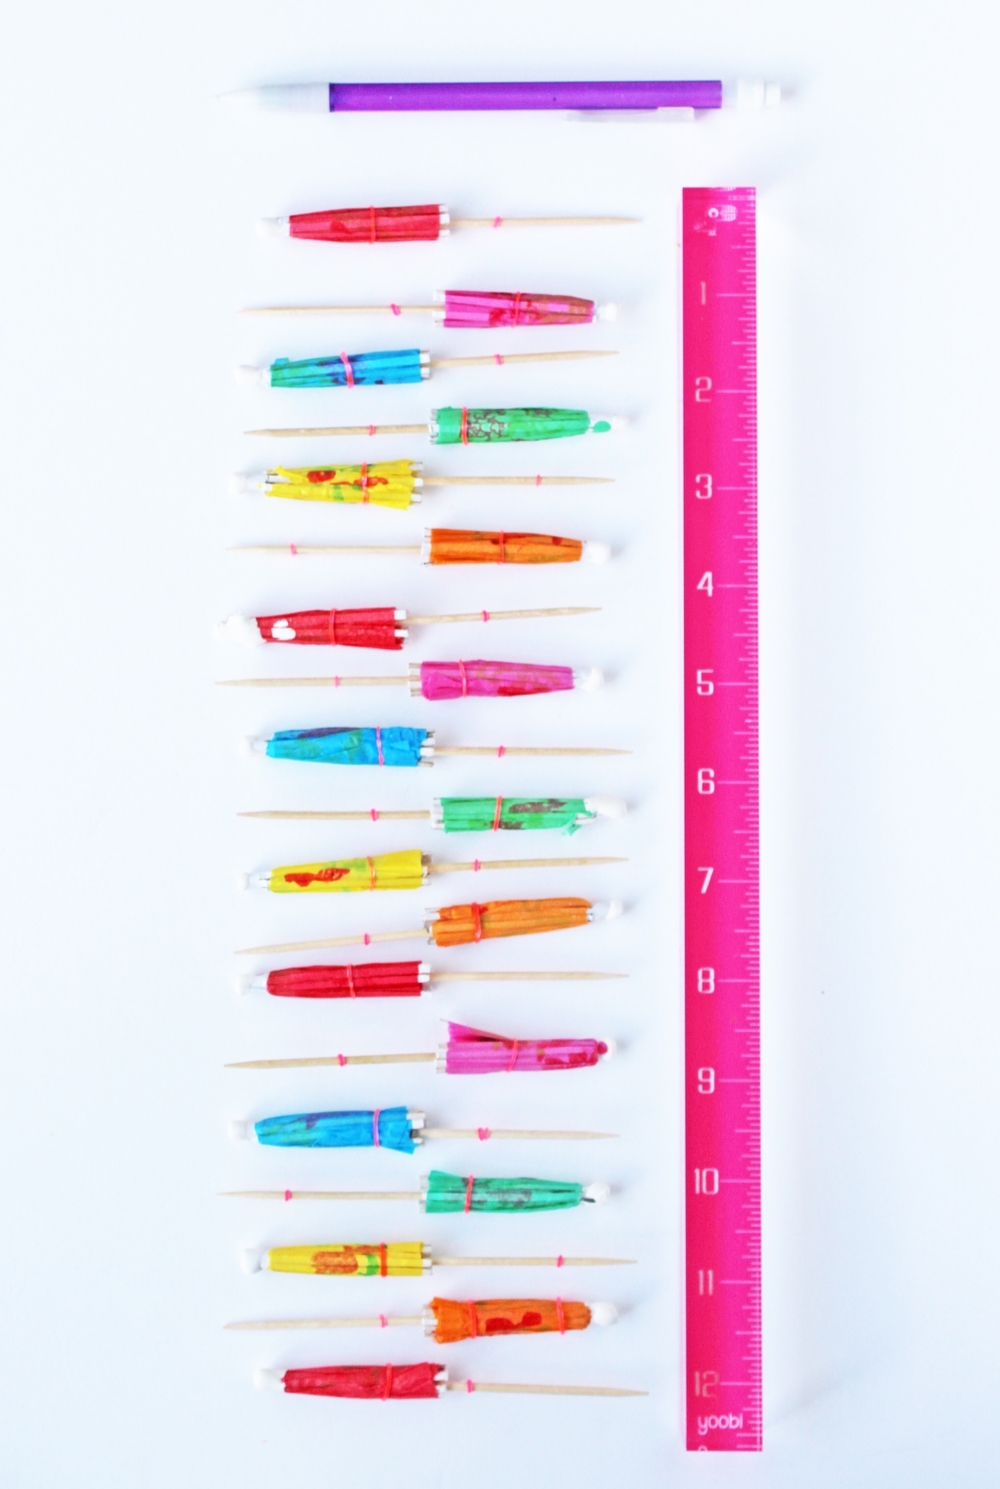
Pack of 100+ – Multi-colored drink umbrellas
1 – Ruler
1 – Pencil
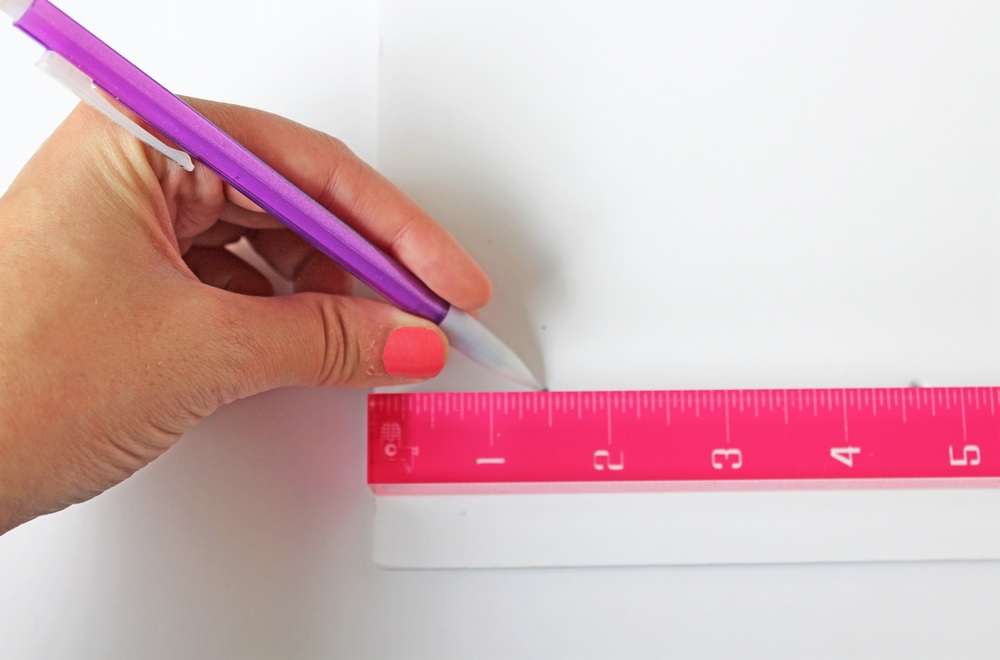
Step One: Measure
Starting in the bottom left hand corner of the first board, squarely measure 1.5″ in from the edges of the board, and mark with a pencil. This signals the spot of your first umbrella post hole. From that mark, align the ruler vertically, marking every 2.25″ upwards. Next, lay the ruler horizontally from each of your post holes and mark every 2.25″ across the board, until the entire board is filled, making a square grid. Repeat this exact process on your second board.
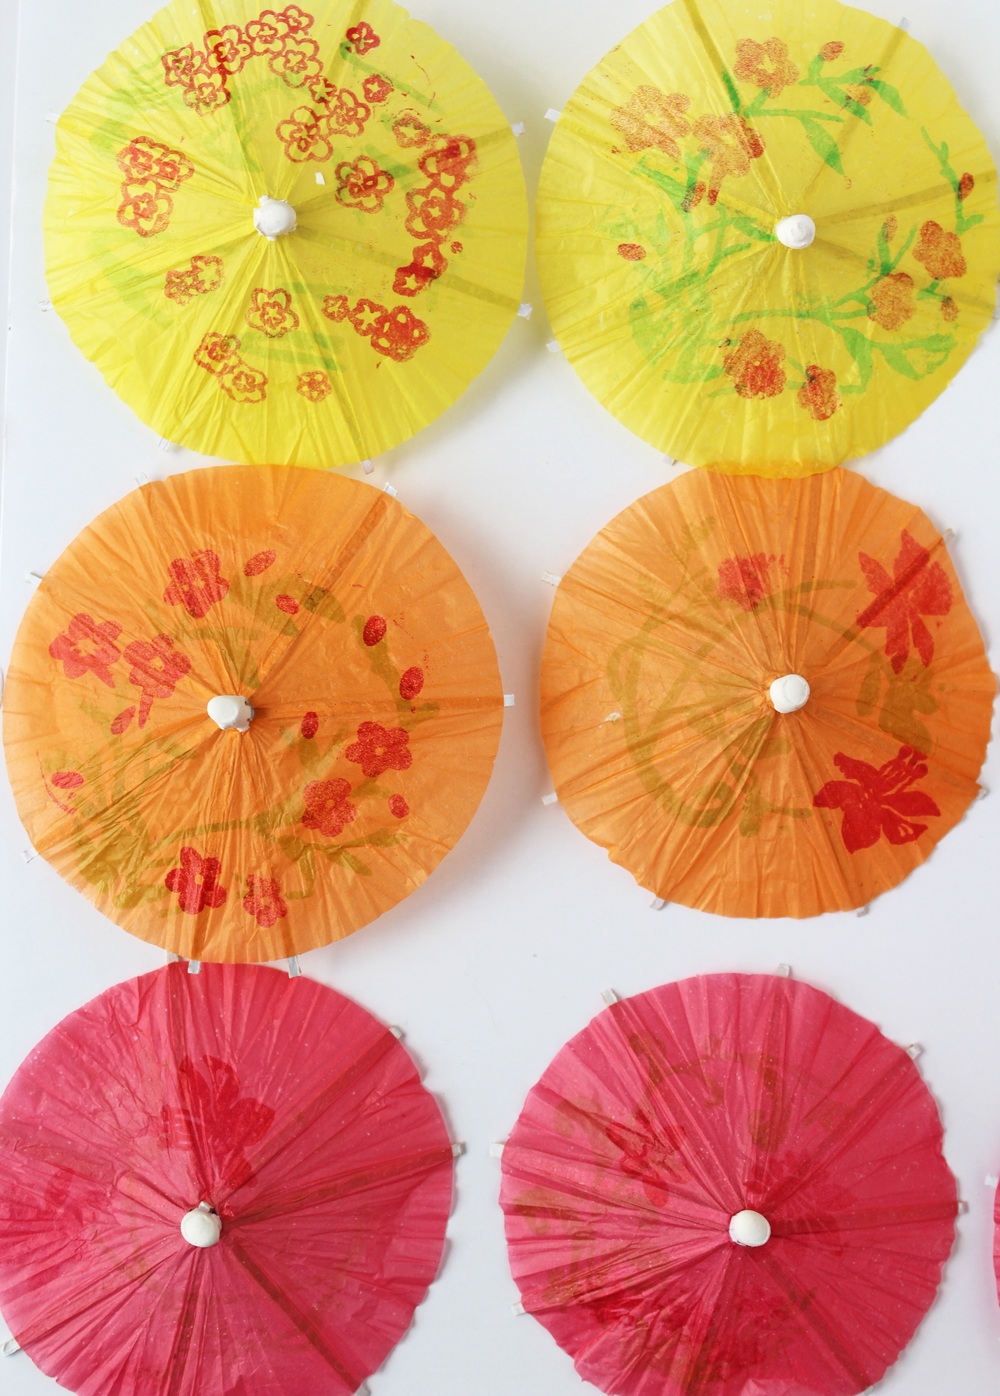
Step 2: Arrange
If you are creating a single color backdrop you can skip this step, but for more intricate colors and patterns, it is important to map out your colors and placements beforehand. With the rainbow board, I aligned the two boards and created a square arc of each color, starting on the bottom layer with red, then working outwards to orange, yellow, green, blue, pink, and repeating.
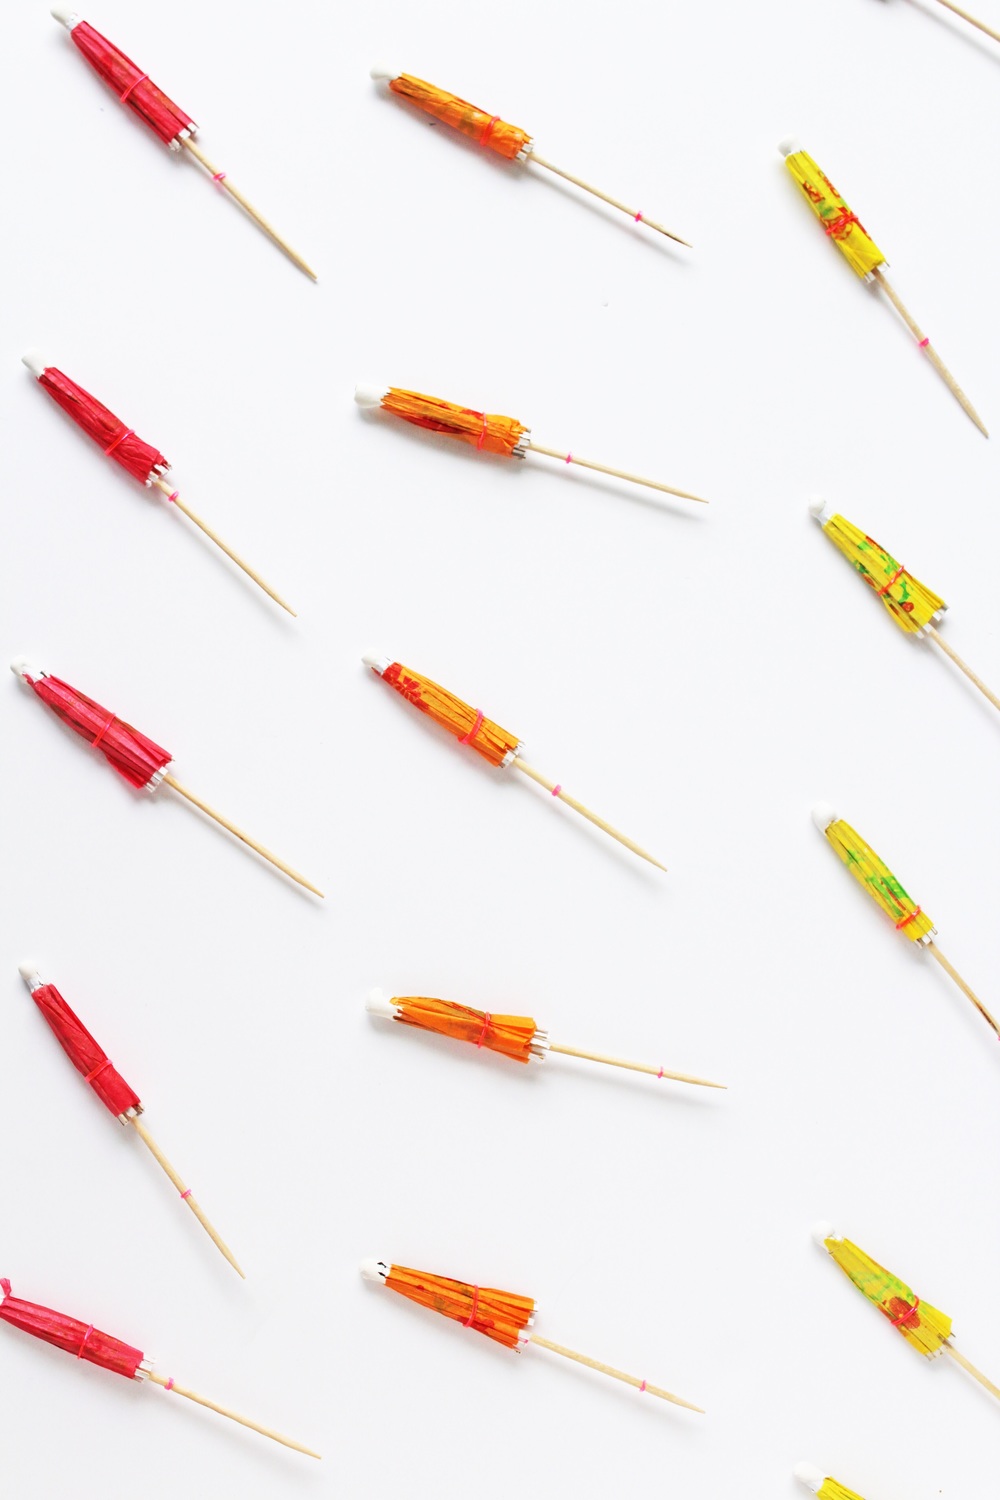
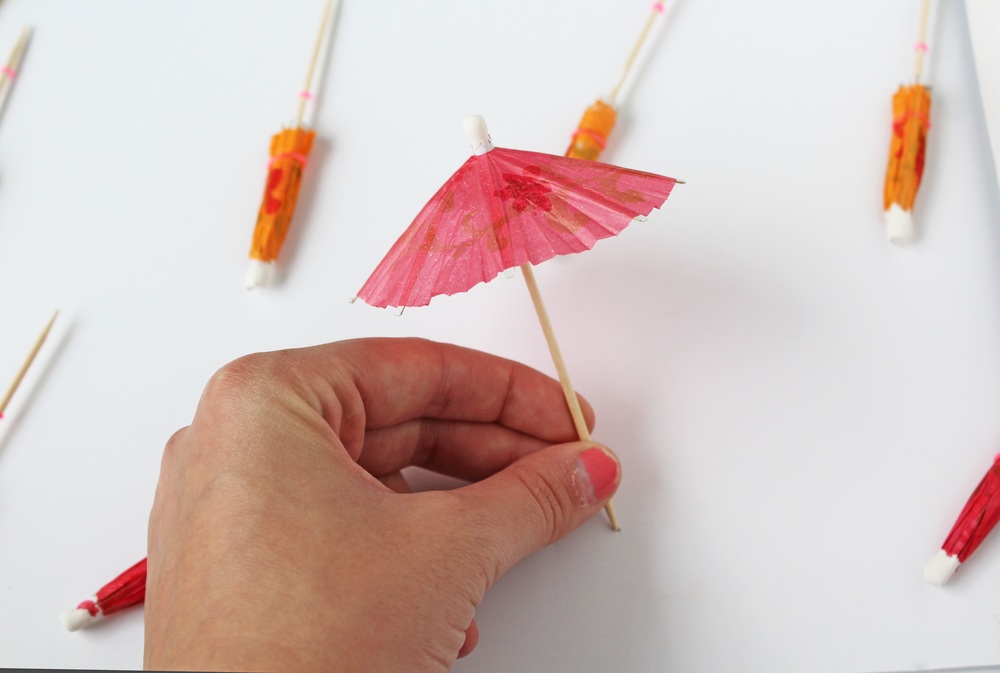
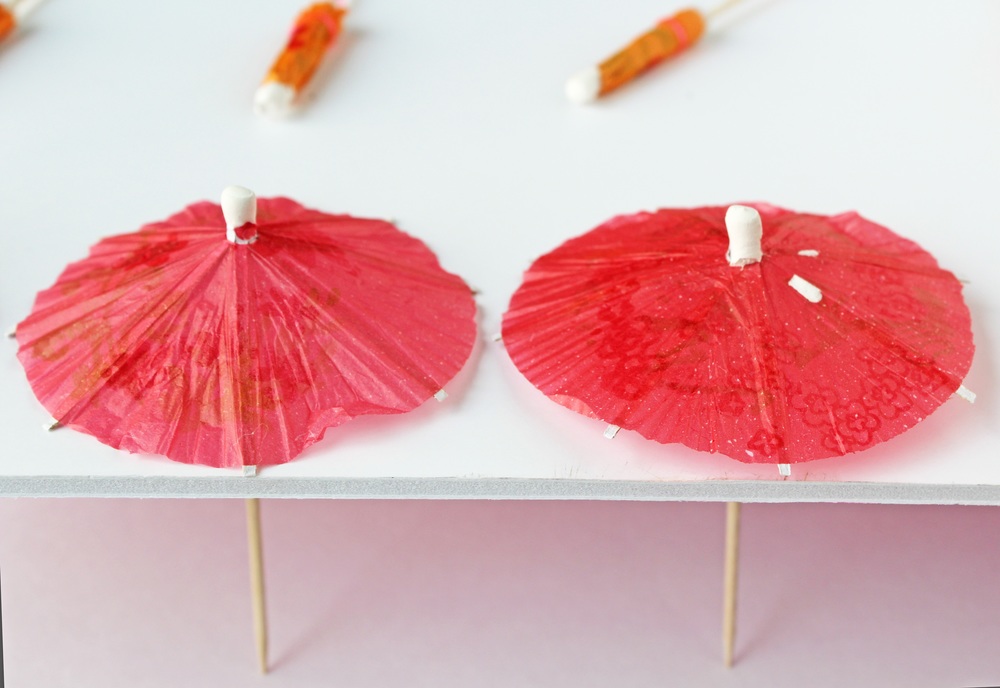
Step 3: Open & Puncture
With your layout planned, you can now begin opening umbrellas and inserting the posts into the foam board. Place one hand on the edge of the board, and the other on the umbrella post, and firmly press down until it pierces through both layers of the foam. Continue all the way down until the umbrella is flush with the board. Since not all umbrellas are created equal, and it is normal for a few to break here and there, it may help to go through and puncture each mark with a pen or pencil before sticking the umbrella posts through.
Step 4: Finish & Display
You’re done! If you used two boards like I did, you can attach them with hot glue, or tape, or simply display them side by side. If you’re looking for colors besides the standard, like gold or white, now is the time to go spray paint crazy on your new board! Since the backside of the backdrop contains sharp edges, it works best when leaned up against a wall or displayed on a table!
 Backdrop at the #LABrunchParty!
")
")
