When it comes to photoshoots, time is literally money. Every minute of shoot day is valuable, so you need to plan your photoshoot to make it efficient and productive. A plan will keep your shoot organized and make sure you get all of the shots you need.
I’ve spent years tweaking and perfecting my photoshoot process, and I’ve learned a lot along the way! If you’re new to planning photoshoots, check out four of my top tips below.
Assign a theme
Step one in your process? Figure out a concept or theme.
Your theme will influence all the other decisions you make for your shoot — location, props, lighting, equipment — so check this item off your list first.
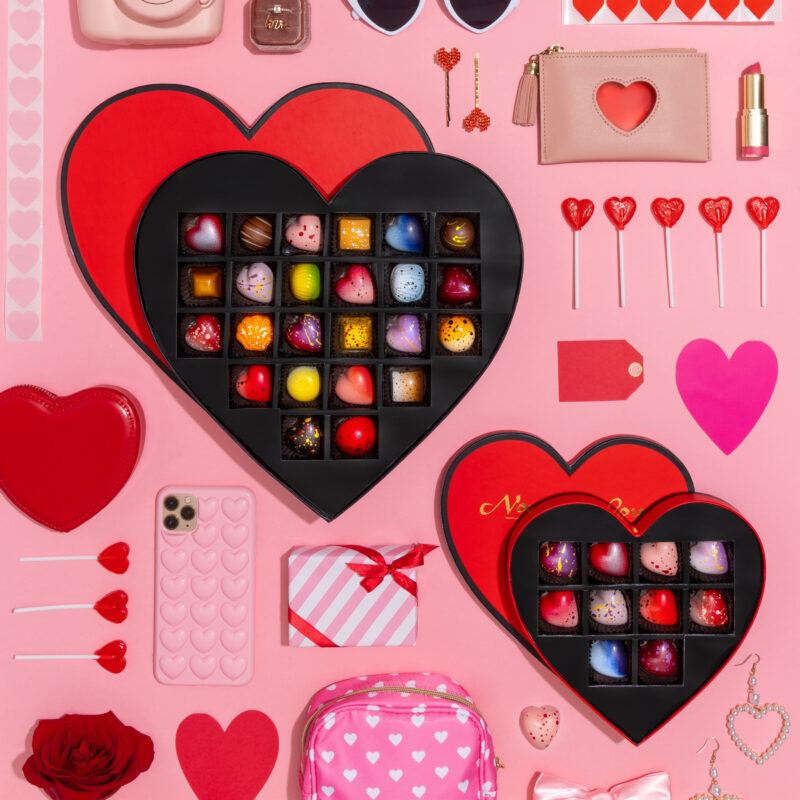
When you think “theme,” what comes to your mind immediately for your shoot? A memory? A feeling? A gorgeous photo you saw on Instagram? The aesthetic of a movie or TV show?
Write it all down! Take note of every visual or detail that comes to mind when you think of the theme for your photoshoot. Include practical info in your list, too.
Here’s an example of what to write down:
✍️ Colors
✍️ Textures
✍️. Mood
✍️. Color palettes
✍️. Location
✍️. Audience
✍️. Holidays
✍️. Products featured
✍️ Where the photos will be used
✍️. Size of images you need
Then, you can start organizing all your thoughts and forming a plan. You might create a Pinterest page or mood board that captures the look or feel of your concept.
Plan each shot
Once you’ve zeroed in on your theme, think about what you want each shot to look like. What items will you use? What angles and background will you choose for each shot?
A spreadsheet really comes in handy for this step! Using a spreadsheet, make a list of each shot that you want to create. Include every detail needed to make that shot happen.
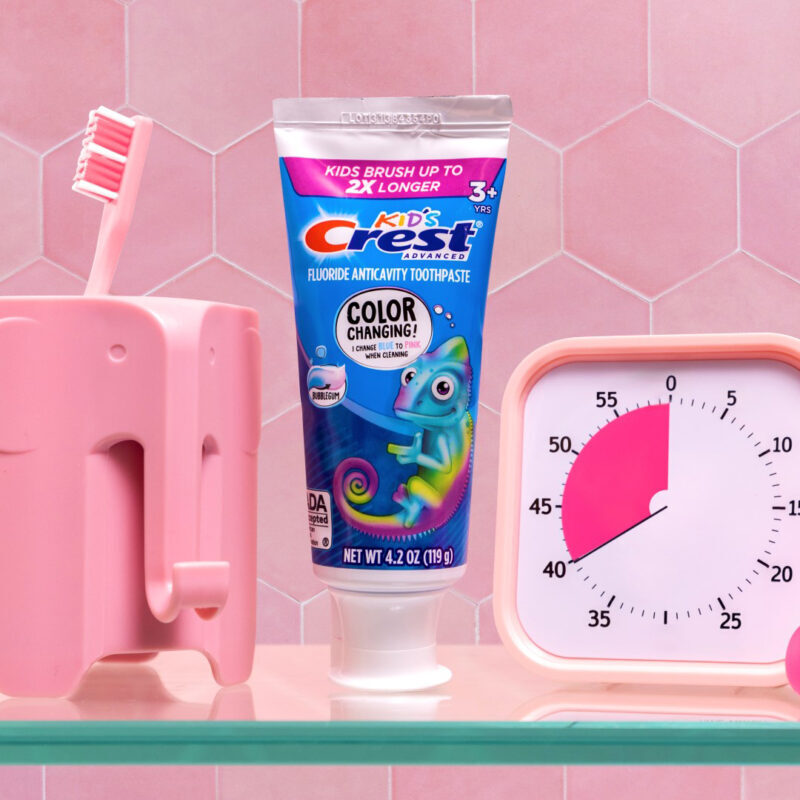
Let’s say you’re planning a beach-themed photoshoot for a drink company (like this one!). On your spreadsheet, you’d list the product featured, a description of the shot you want, angle, props, colors and textures, you get the idea. Repeat for each shot.
Another great thing about planning your shots like this? You can create a shot list organized by angle and then background to maximize efficiency! Then you don’t have to rearrange your gear and change backgrounds with every shot.
Prep for shoot day
Shoot day is coming up fast! Are you ready?
You have your theme and every shot planned out in your spreadsheets. Now, use checklists to prepare the items you need for your photoshoot. Are there props or backgrounds you need to make? What should you bring with you? Make separate checklists for everything you need to have on hand at your shoot.
Finally, pat yourself on the back: all your preparation has paid off! Stick to the plan you created, and I know your photoshoot will be a blast.
Use a photoshoot planner to stay organized
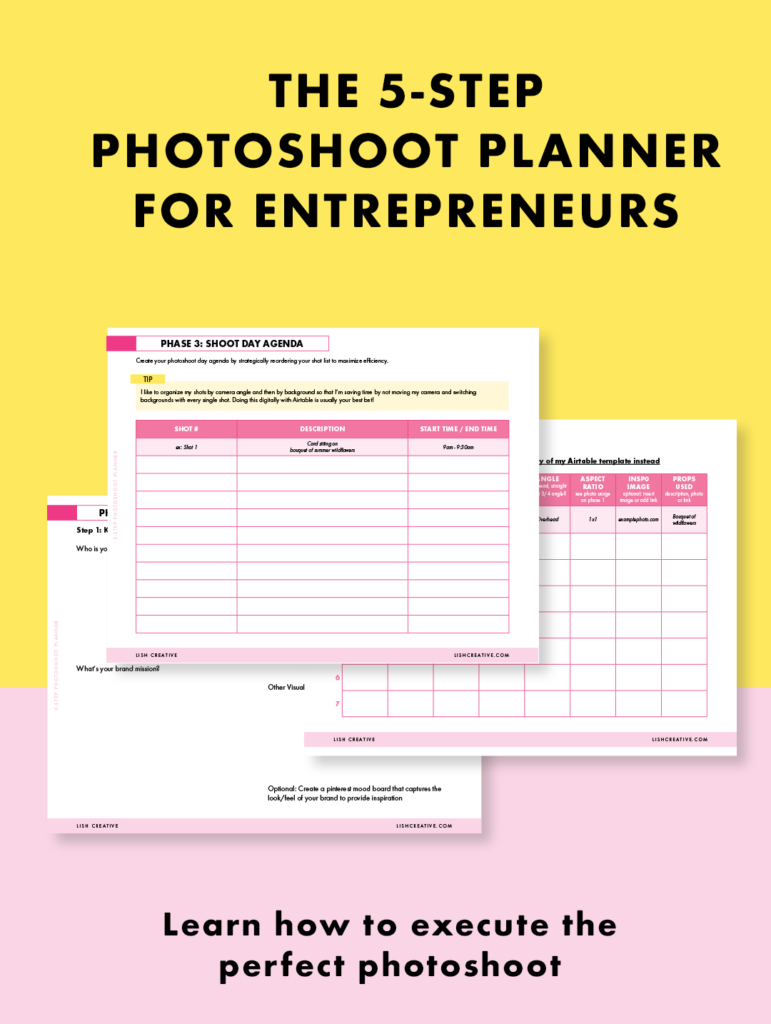
Hate creating spreadsheets and checklists? Worried you’re going to forget something critical? It’s your lucky day: I have a FREE 5-Step Photoshoot Planner all ready to go for you!
My photoshoot planner includes some tips I touched on in this blog post, but takes it even further. You’ll get even more advice (and the actual spreadsheet template that I use!) to help you plan your themes, organize your shots, pack for your shoot, and pick your props.
Download the 5-Step Photo Shoot Planner and start using it in minutes! Sign up here and get your free photoshoot planner now. I mentioned it’s free, right?!


