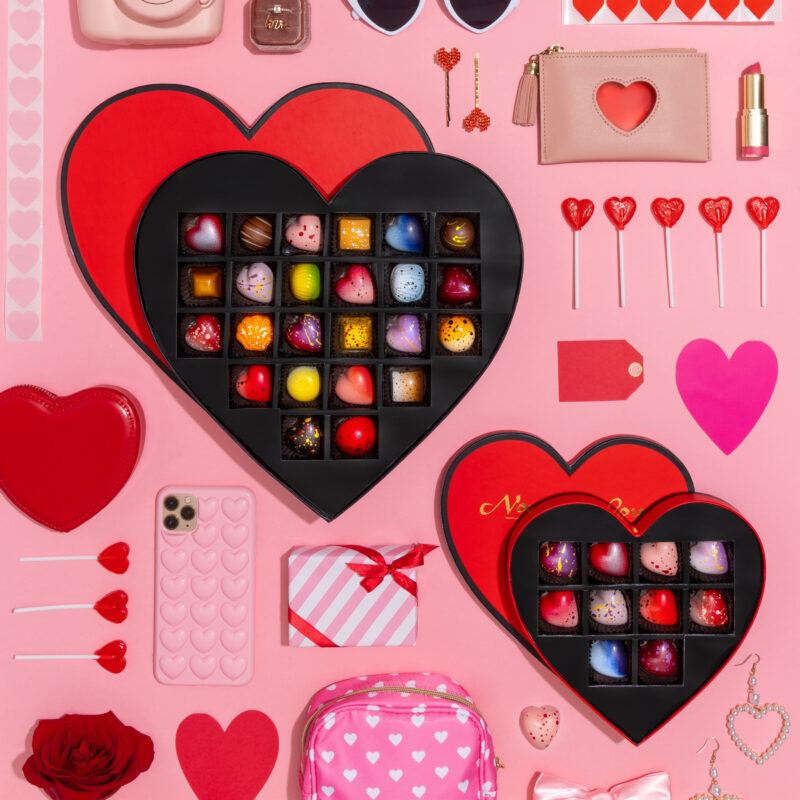
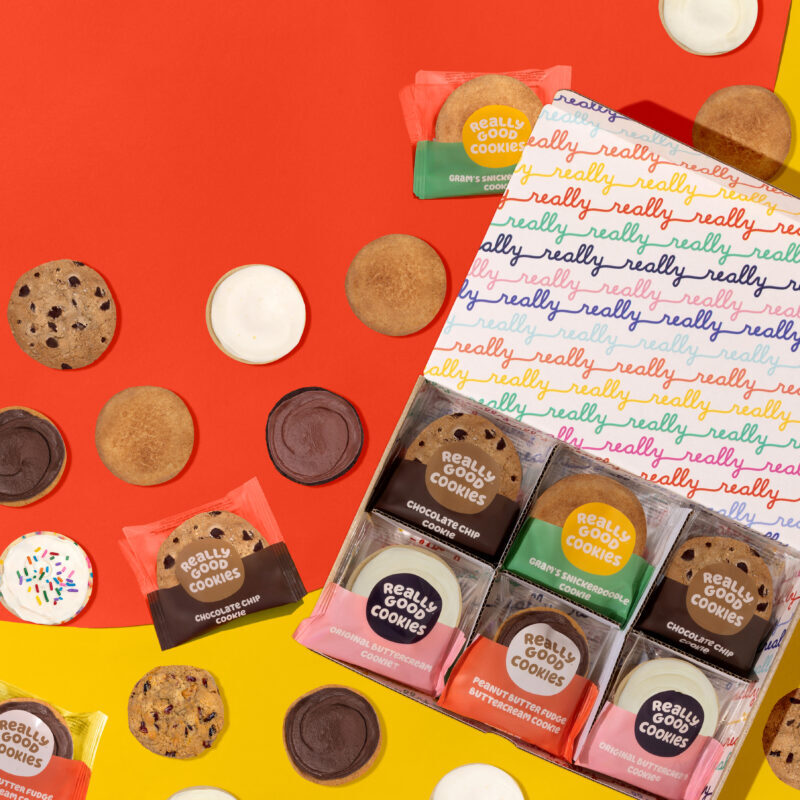
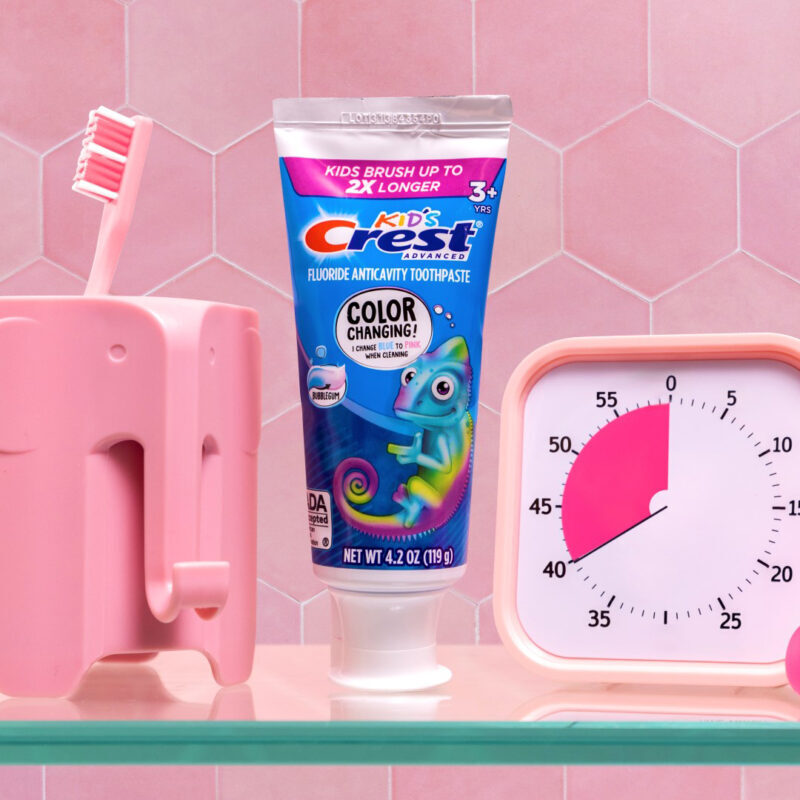
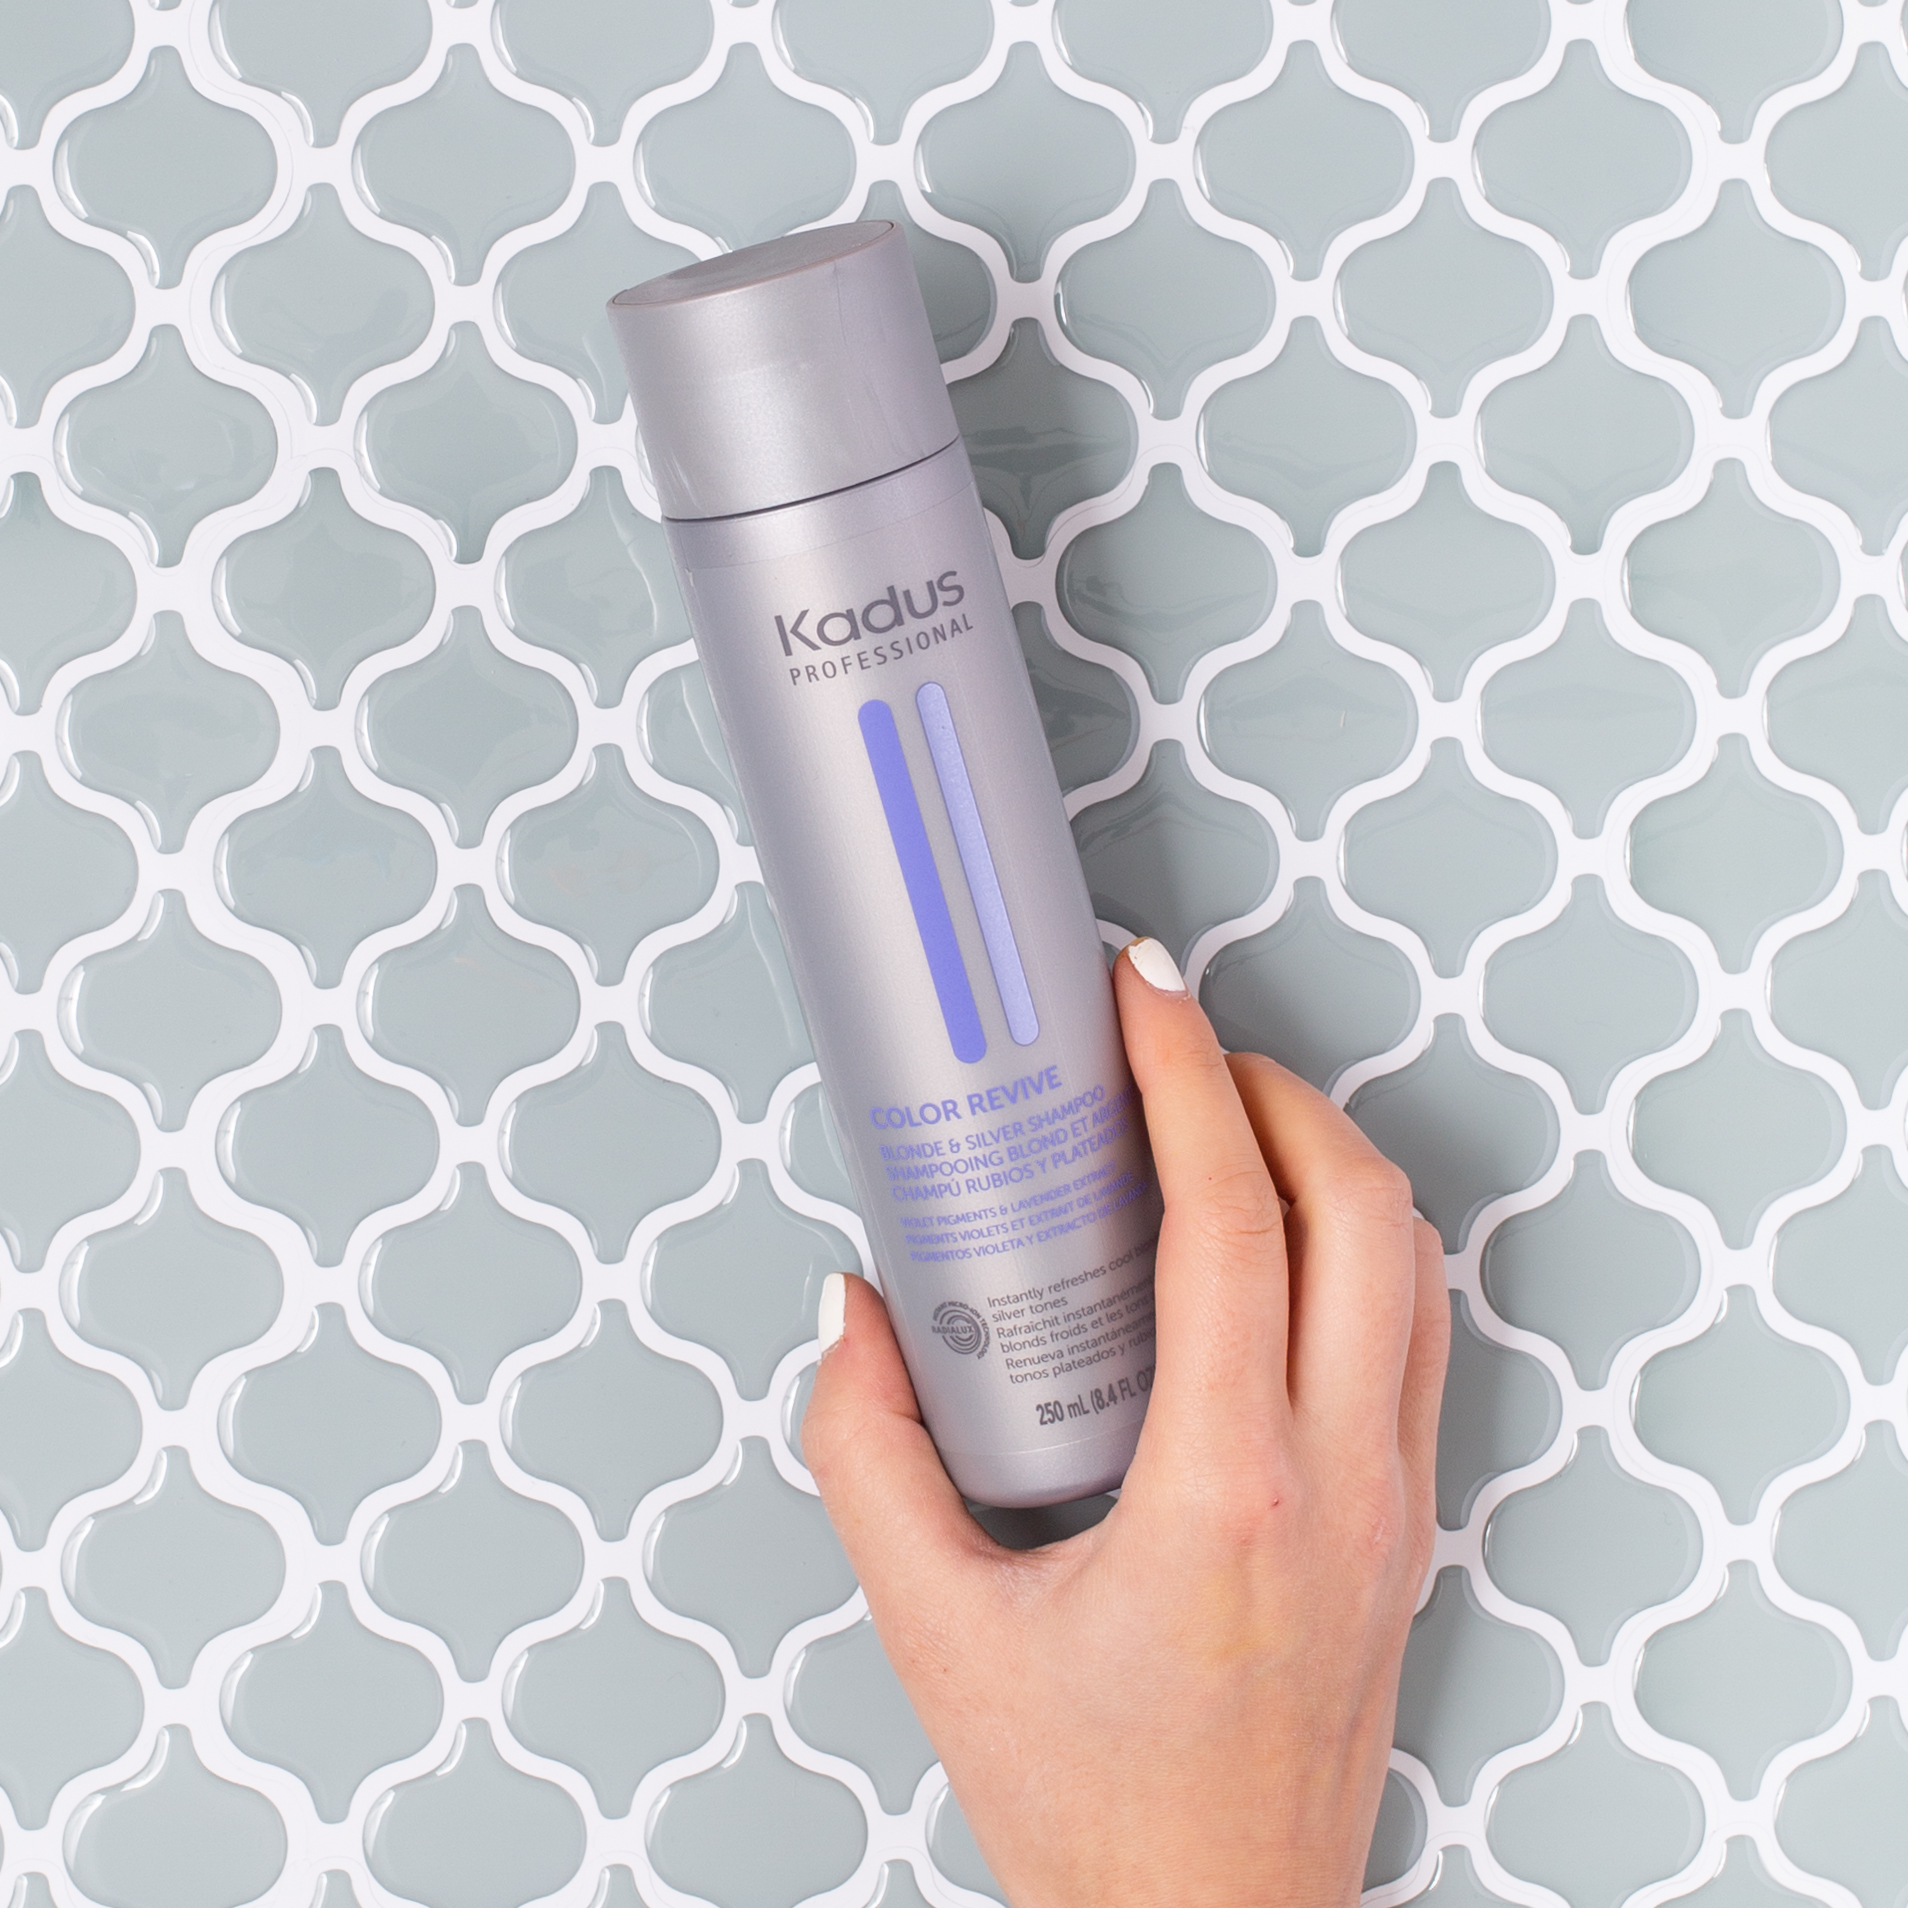
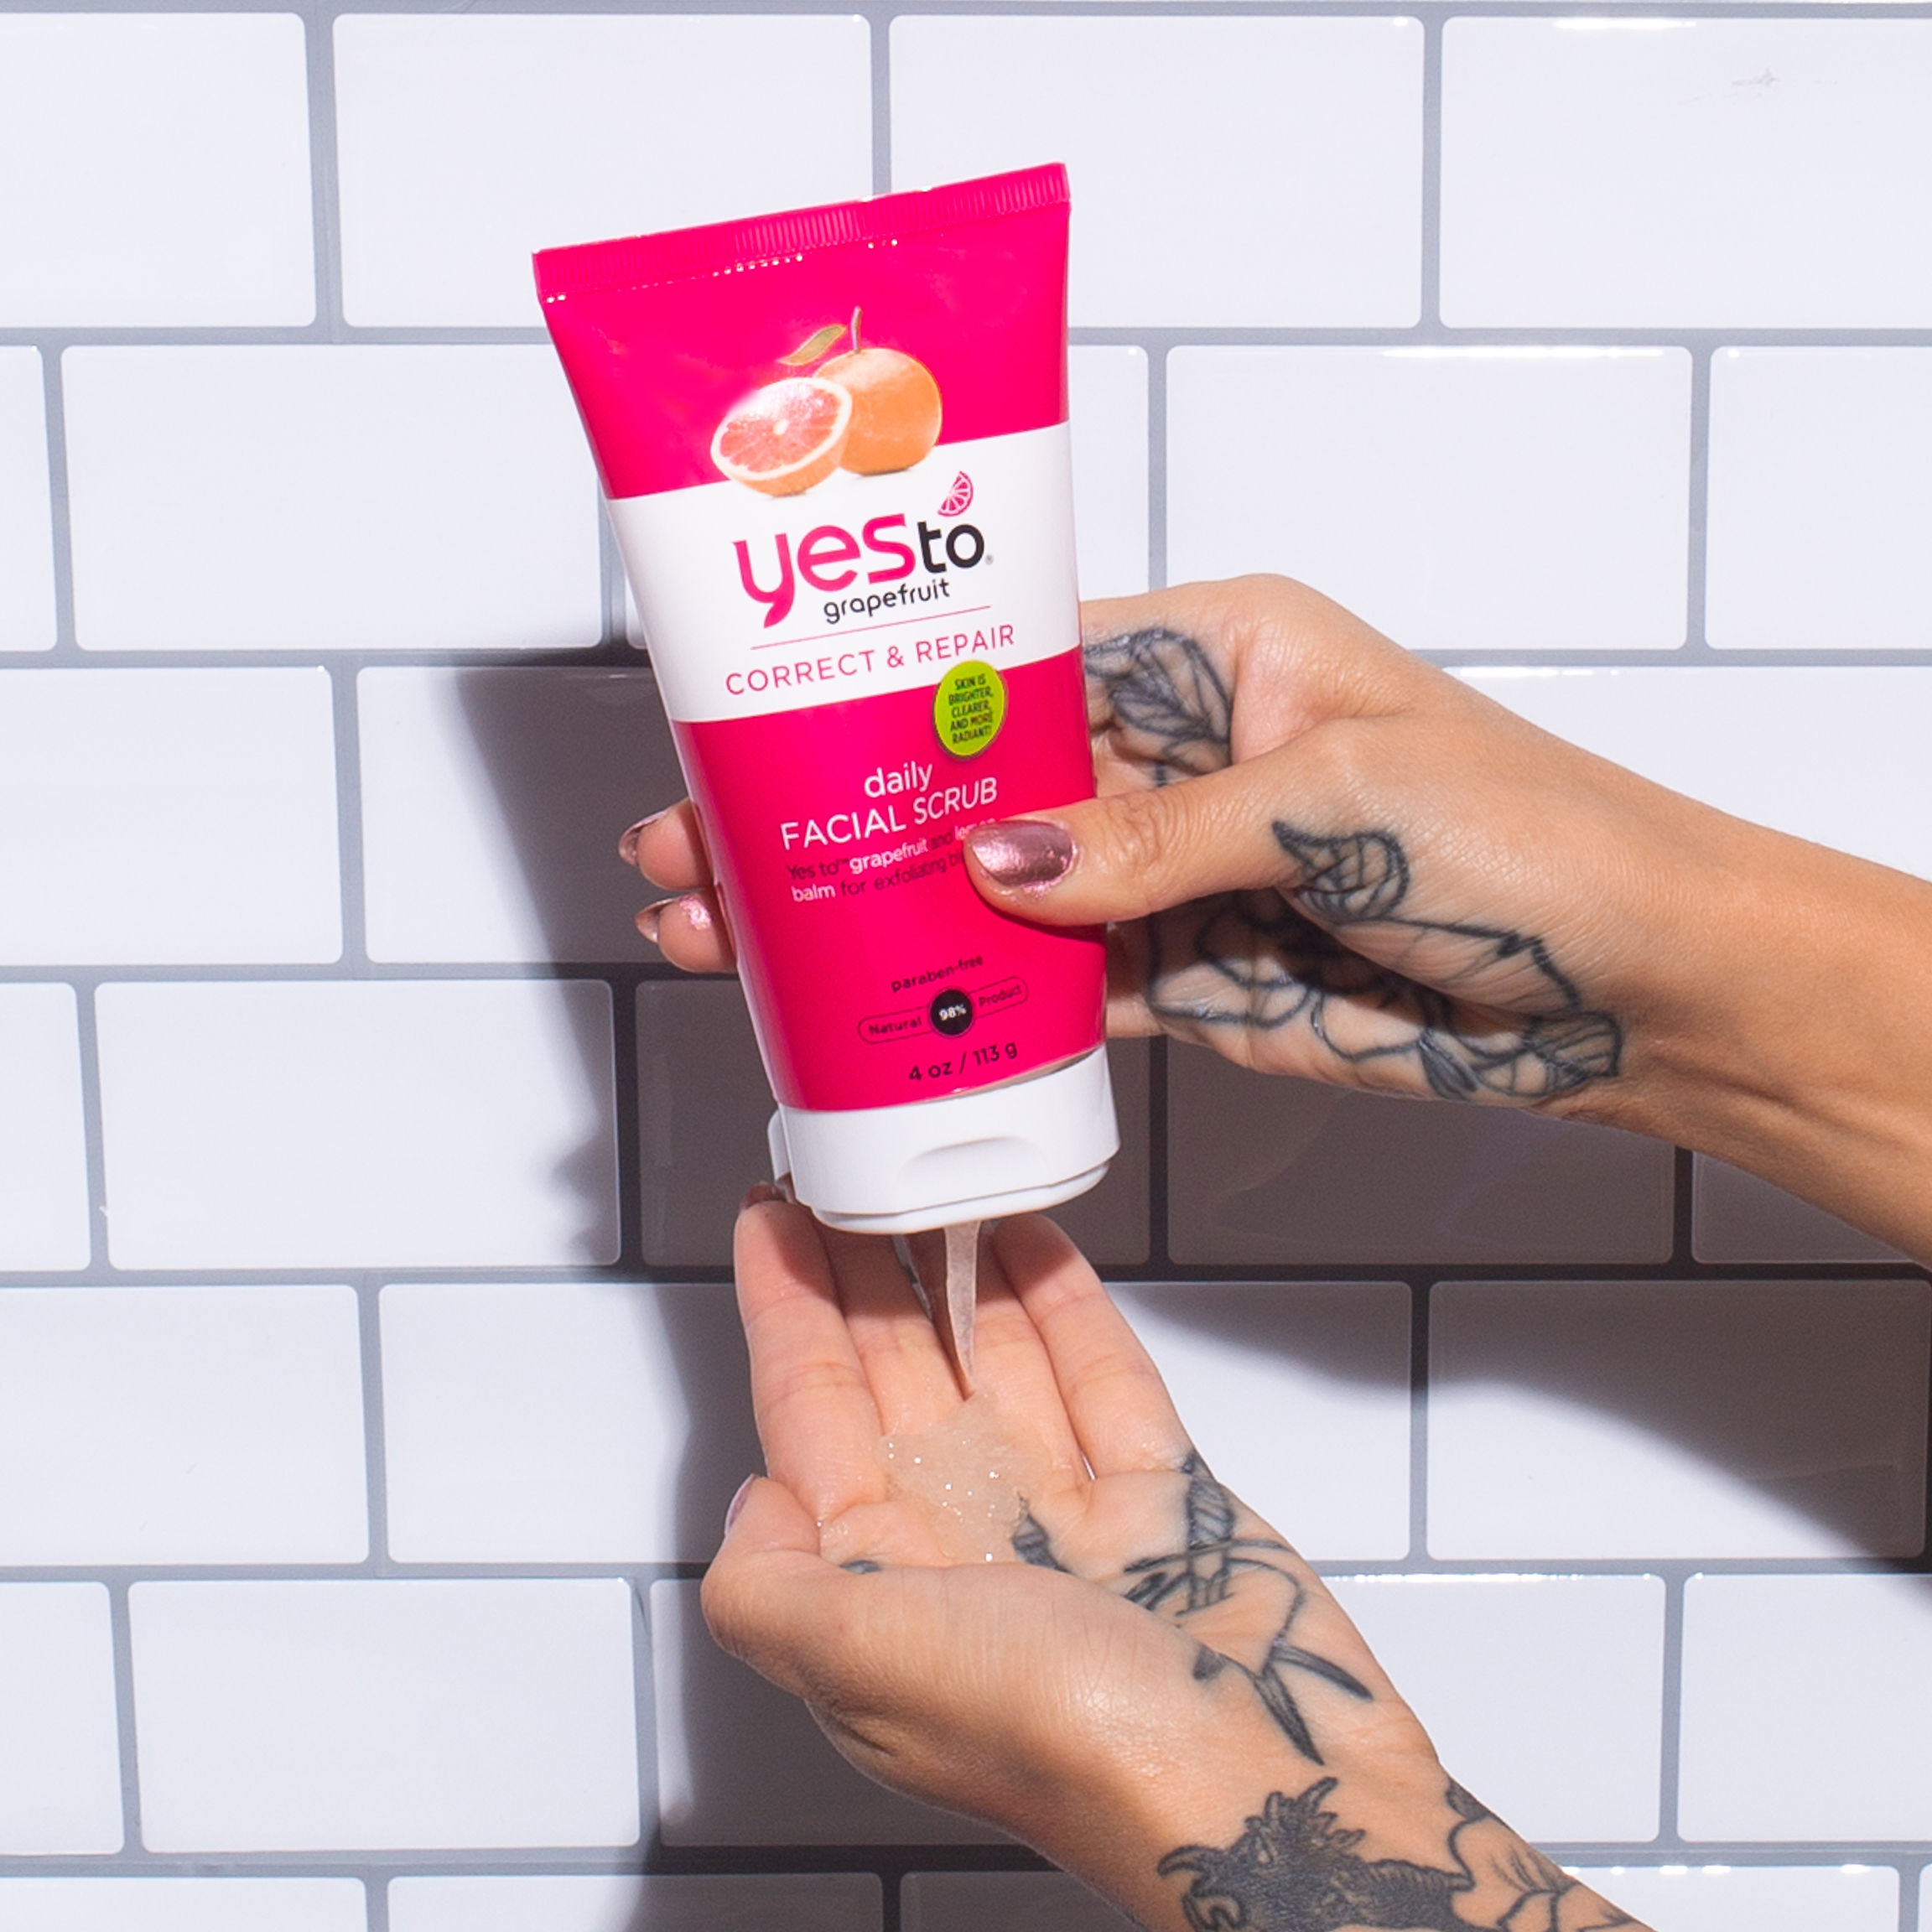
One of the questions I get most is about how I find so many different backdrops for my photos. Of course, you’d think I travel all over and have a ton of cute AirBnBs where I shoot … but I don’t! In fact, some of my most popular backdrops are handmade by yours truly. Take, for example, this tile backdrop:
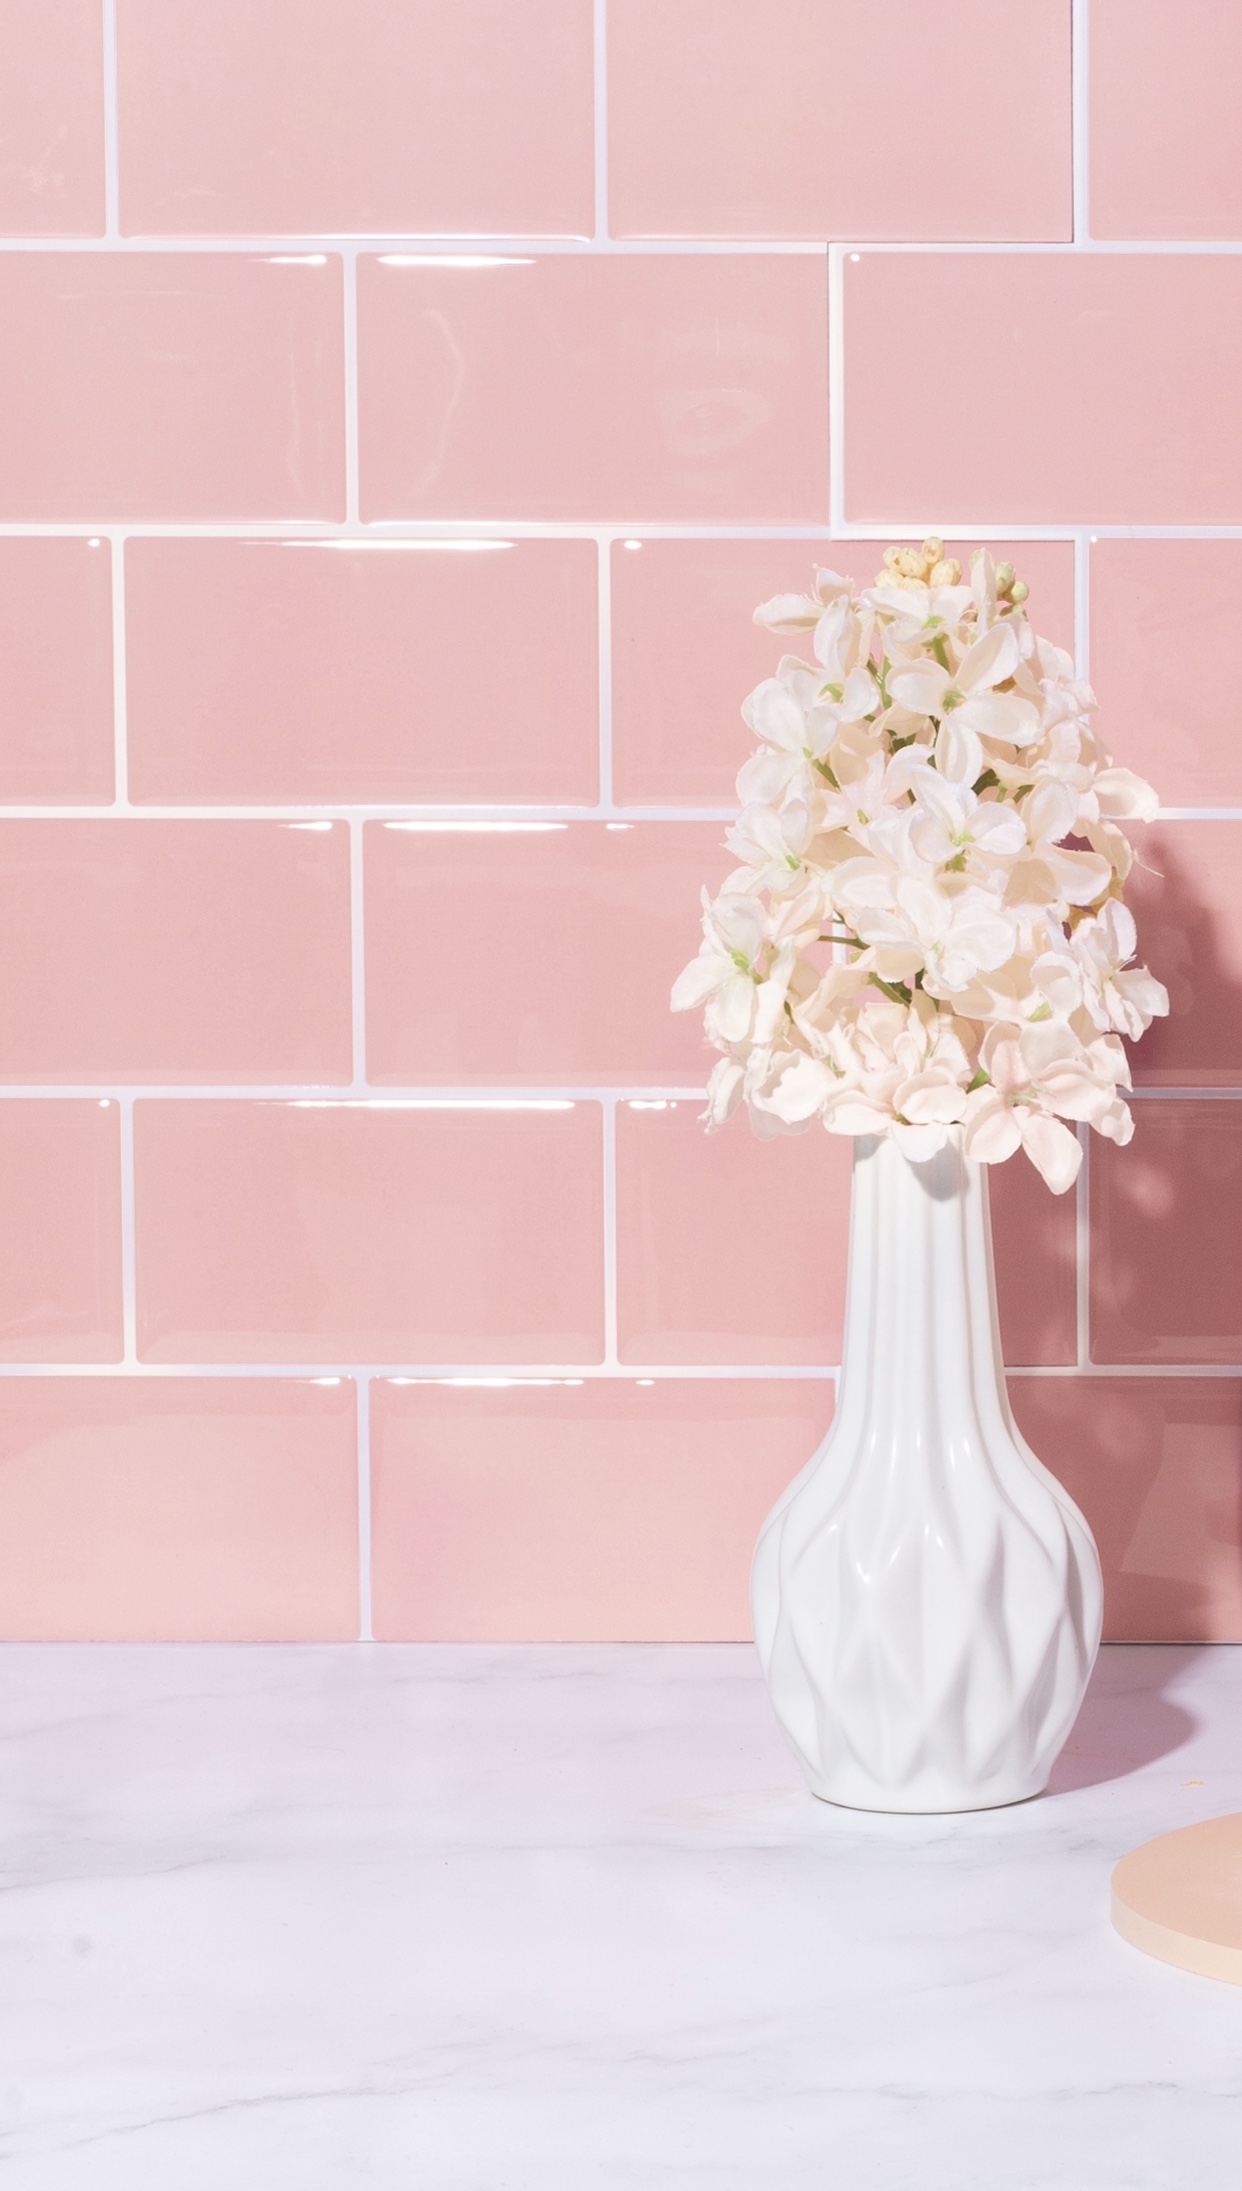
No, that’s not an actual tile background! I made it in just a few minutes with peel and stick tiles! I have made backgrounds using real tile and grout, but they’re a tad clunky. Aside from being time-intensive to make, they are also super heavy and hard to maneuver.
I originally shared this tutorial on IG reels, and it is my most popular video so far, so I thought I’d share an expanded tutorial with links to some of my favorite peel and stick tiles:
Step one: Buy some peel-and-stick tiles
Betcha didn’t know tile came in sheets now, did you? I’ve had a lot of luck purchasing tile sheets from Amazon, but Home Depot and Lowe’s have a great online selection also. There are so many different colors and patterns to choose from! Here are just a few of my favorites:
Sea Glass peel-and-stick tiles
Tic Tac peel-and-stick tiles
Damask Jade peel-and-stick tiles
White Subway peel-and-stick tiles
Marble Herringbone peel-and-stick tiles
Pink Subway peel-and-stick tiles
Step two: Attach to a surface
You can use foam board, plastic sheets or even a piece of wood! Foam boards seem to be the easiest to carry around and you can find them at your local craft store or even some big box stores. They are not like regular flimsy poster board — they have a thick core of foam that helps keep the board’s shape.
Step three: Peel and stick your tiles to your foam board!
This part sounds simple, but make sure you line up your tiles properly. The stick-and-peel tiles are fairly easy to do this with, but make sure you have sufficient tiles for your backdrop. Once you’ve got a plan / checked you have enough sheets, it’s time to start sticking!
Line up your tiles, remove the backing, and stick! Et voila — a faux tile backdrop without a real kitchen or bathroom needed!

Want more photo shoot and backdrop tips and hacks?
Check out my new course, Slay the Flatlay, where we cover backgrounds, props, lighting, camera gear, styling, stop-motion and more through 4+ hours of video instruction over 22 modules. It’s perfect for small business owners, bloggers, aspiring photographers, and anyone looking to uplevel their product photography and styling skills. You can also save $50 with the code SLAY. Learn more below:
