
Got leftover gift wrap from your Easter basket or Mother’s Day presents? Don’t toss it! You can repurpose it and reuse it as a cool iridescent photo backdrop. I’ll show you how in this blog!
View this post on Instagram
Grab some iridescent cellophane
If you don’t have any iridescent cellophane yet, but want to start using it in your photoshoots (and as actual gift wrap once in a while), you can pick up an inexpensive roll from Amazon! I always keep a roll or two on hand to use in shoots.
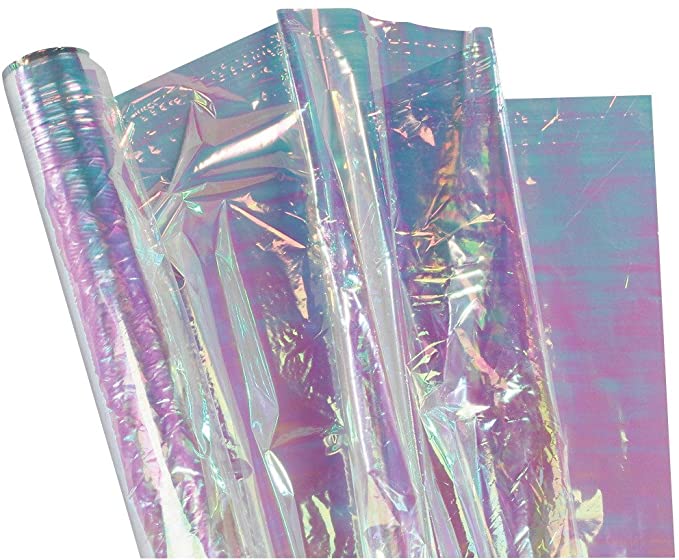
The roll I linked by Creativity Street is my favorite because it bends and twists without ripping. That’s super important if you’re DIYing an iridescent photo backdrop. You want cellophane that holds together well, but still gives you that dreamy, shimmery unicorn aesthetic.
Oh, and make sure you check out my other favorite props, photo gear and more on my Amazon Favorites page!
Set up your cellophane and choose your lighting
Once you have your iridescent cellophane roll in hand, it’s time to create your photo backdrop. And it couldn’t be easier.
On a flat surface like a table or the floor (wherever you’re planning to shoot), lay out a good amount of cellophane. Crinkle and crumple it up to add dimension and texture to your photo backdrop. Then, place your product on top.
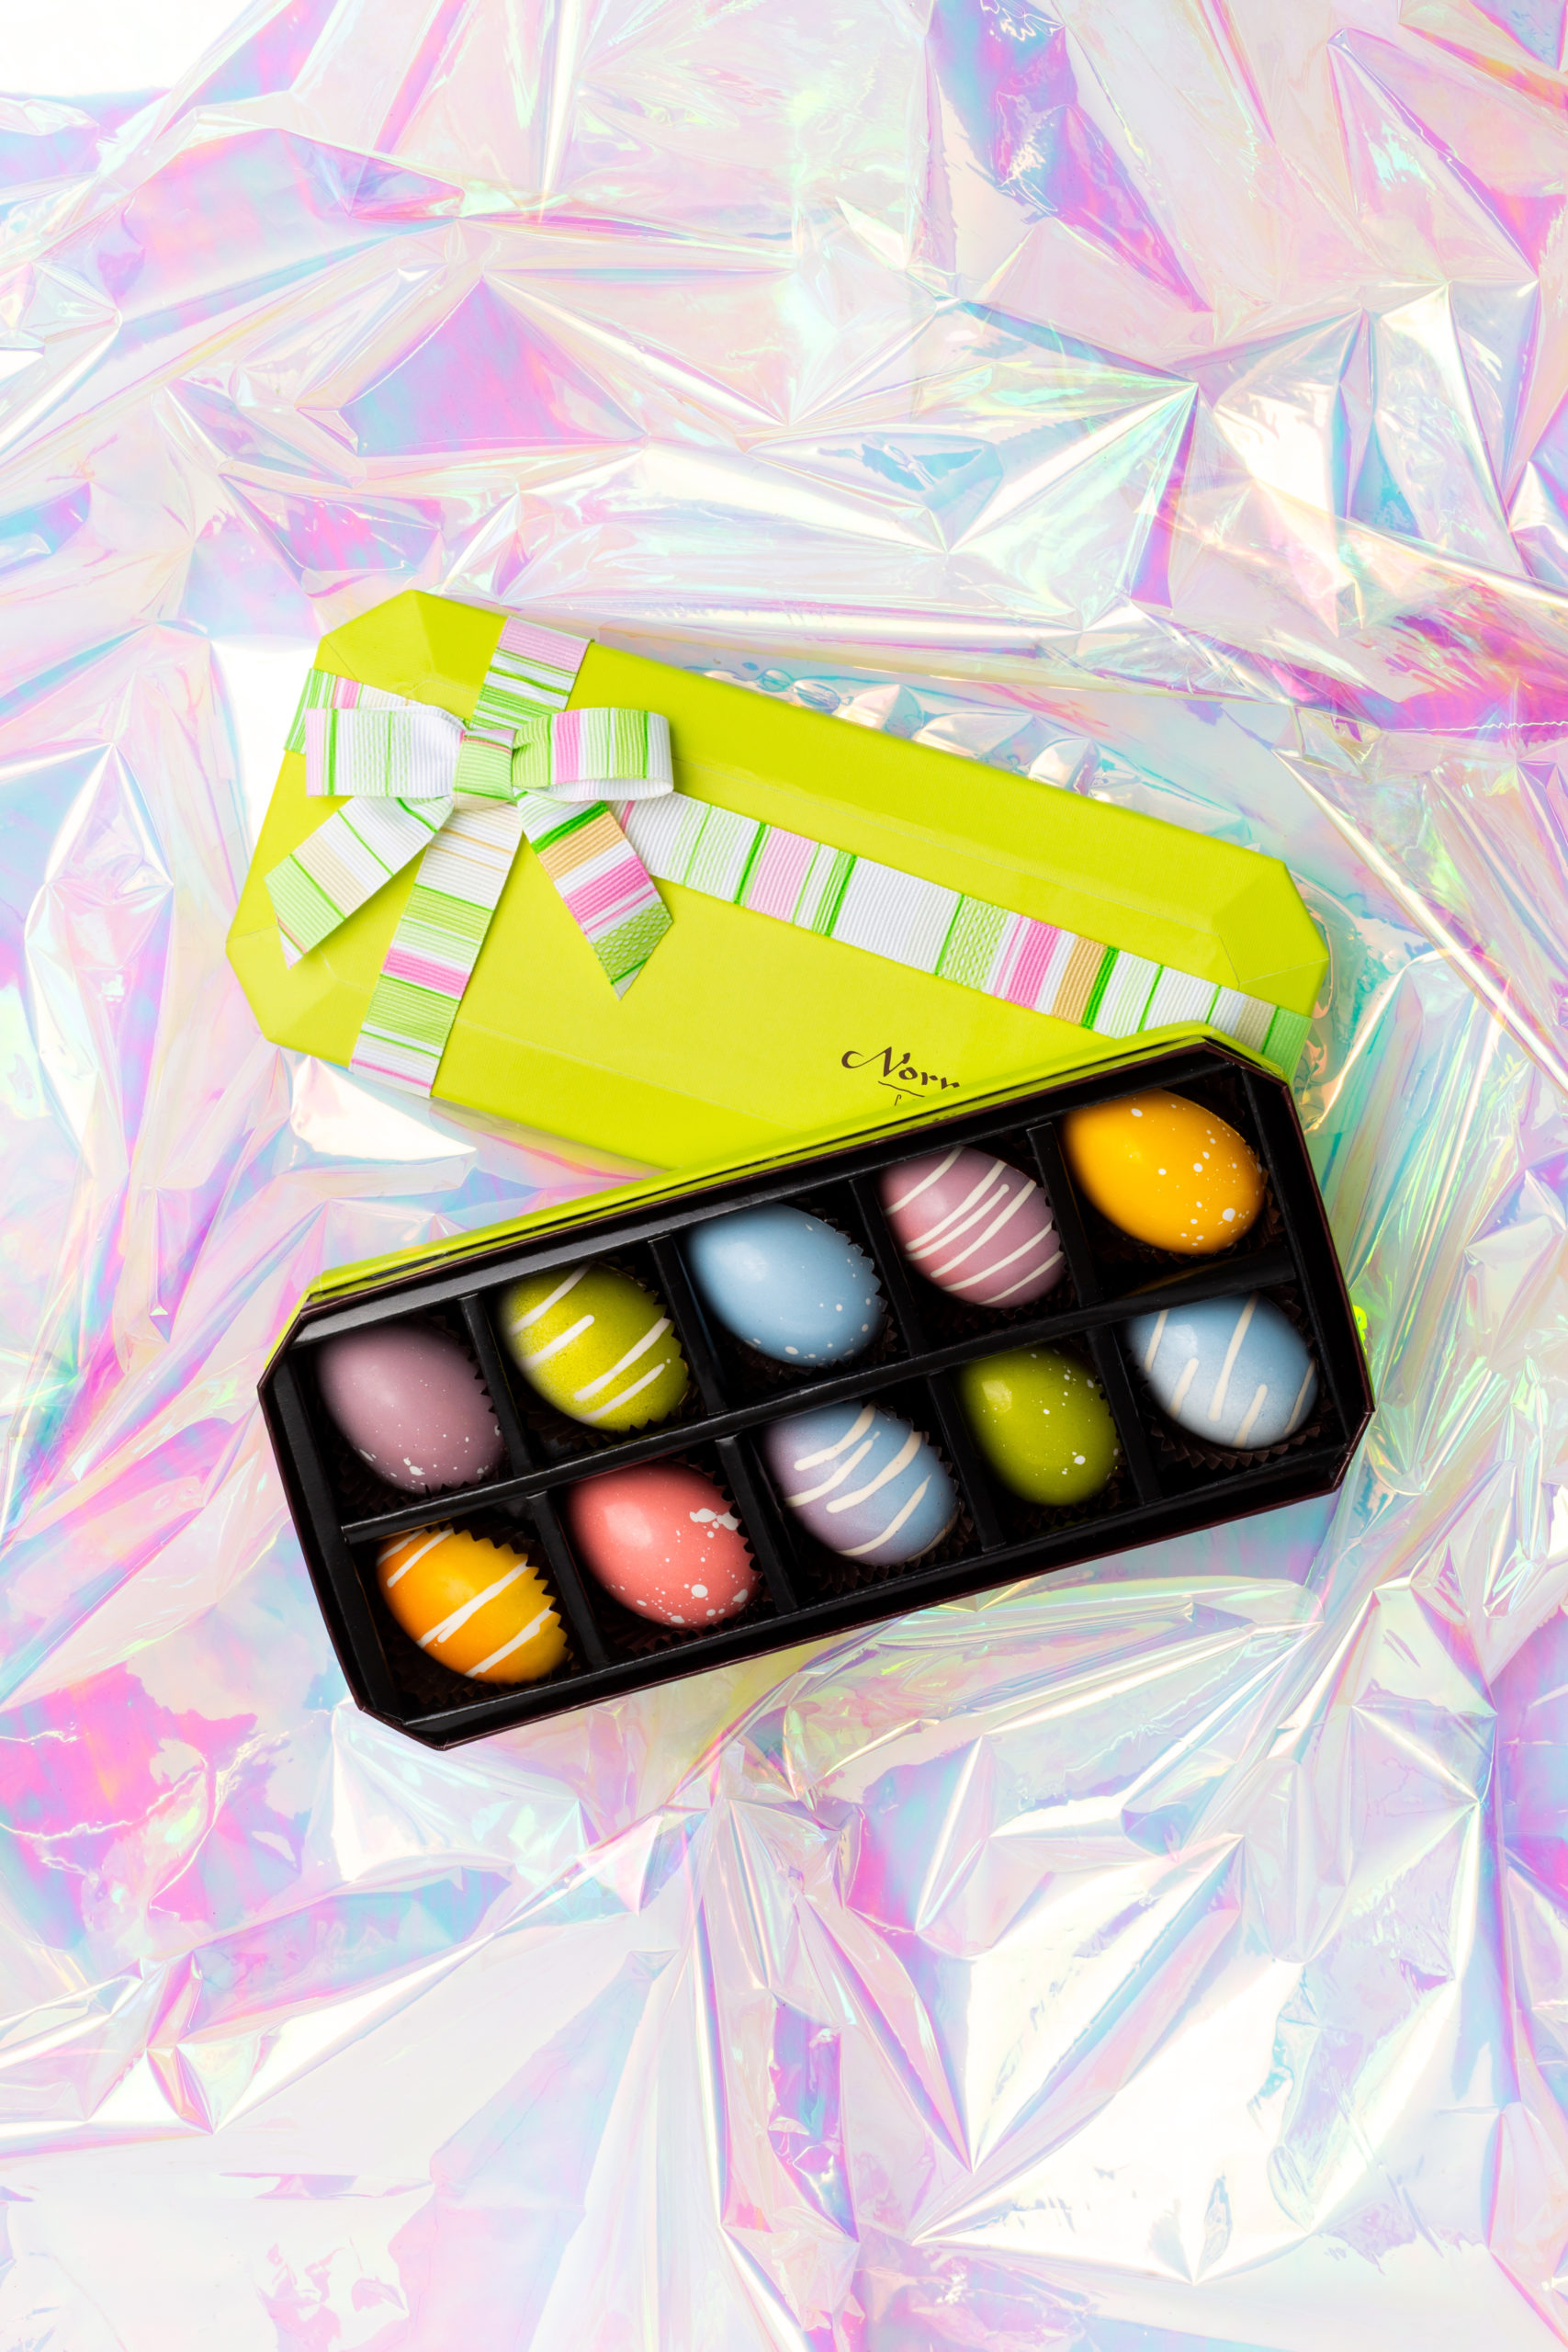
Now, what lighting should you choose? Don’t be afraid to try different types! When I created an iridescent photo backdrop for a recent client shoot, I played around with both harsh lighting and natural lighting. Different lighting will give you different colors and effects with the cellophane.
You can see how the types of lighting I tried came out in this Instagram video!
View this post on Instagram
Looking for more lighting tips?
Even with the coolest props and most creative styling, a shoot can fall flat or look funky if you don’t choose the right lighting. It’s just as important as using the right settings on your DSLR.
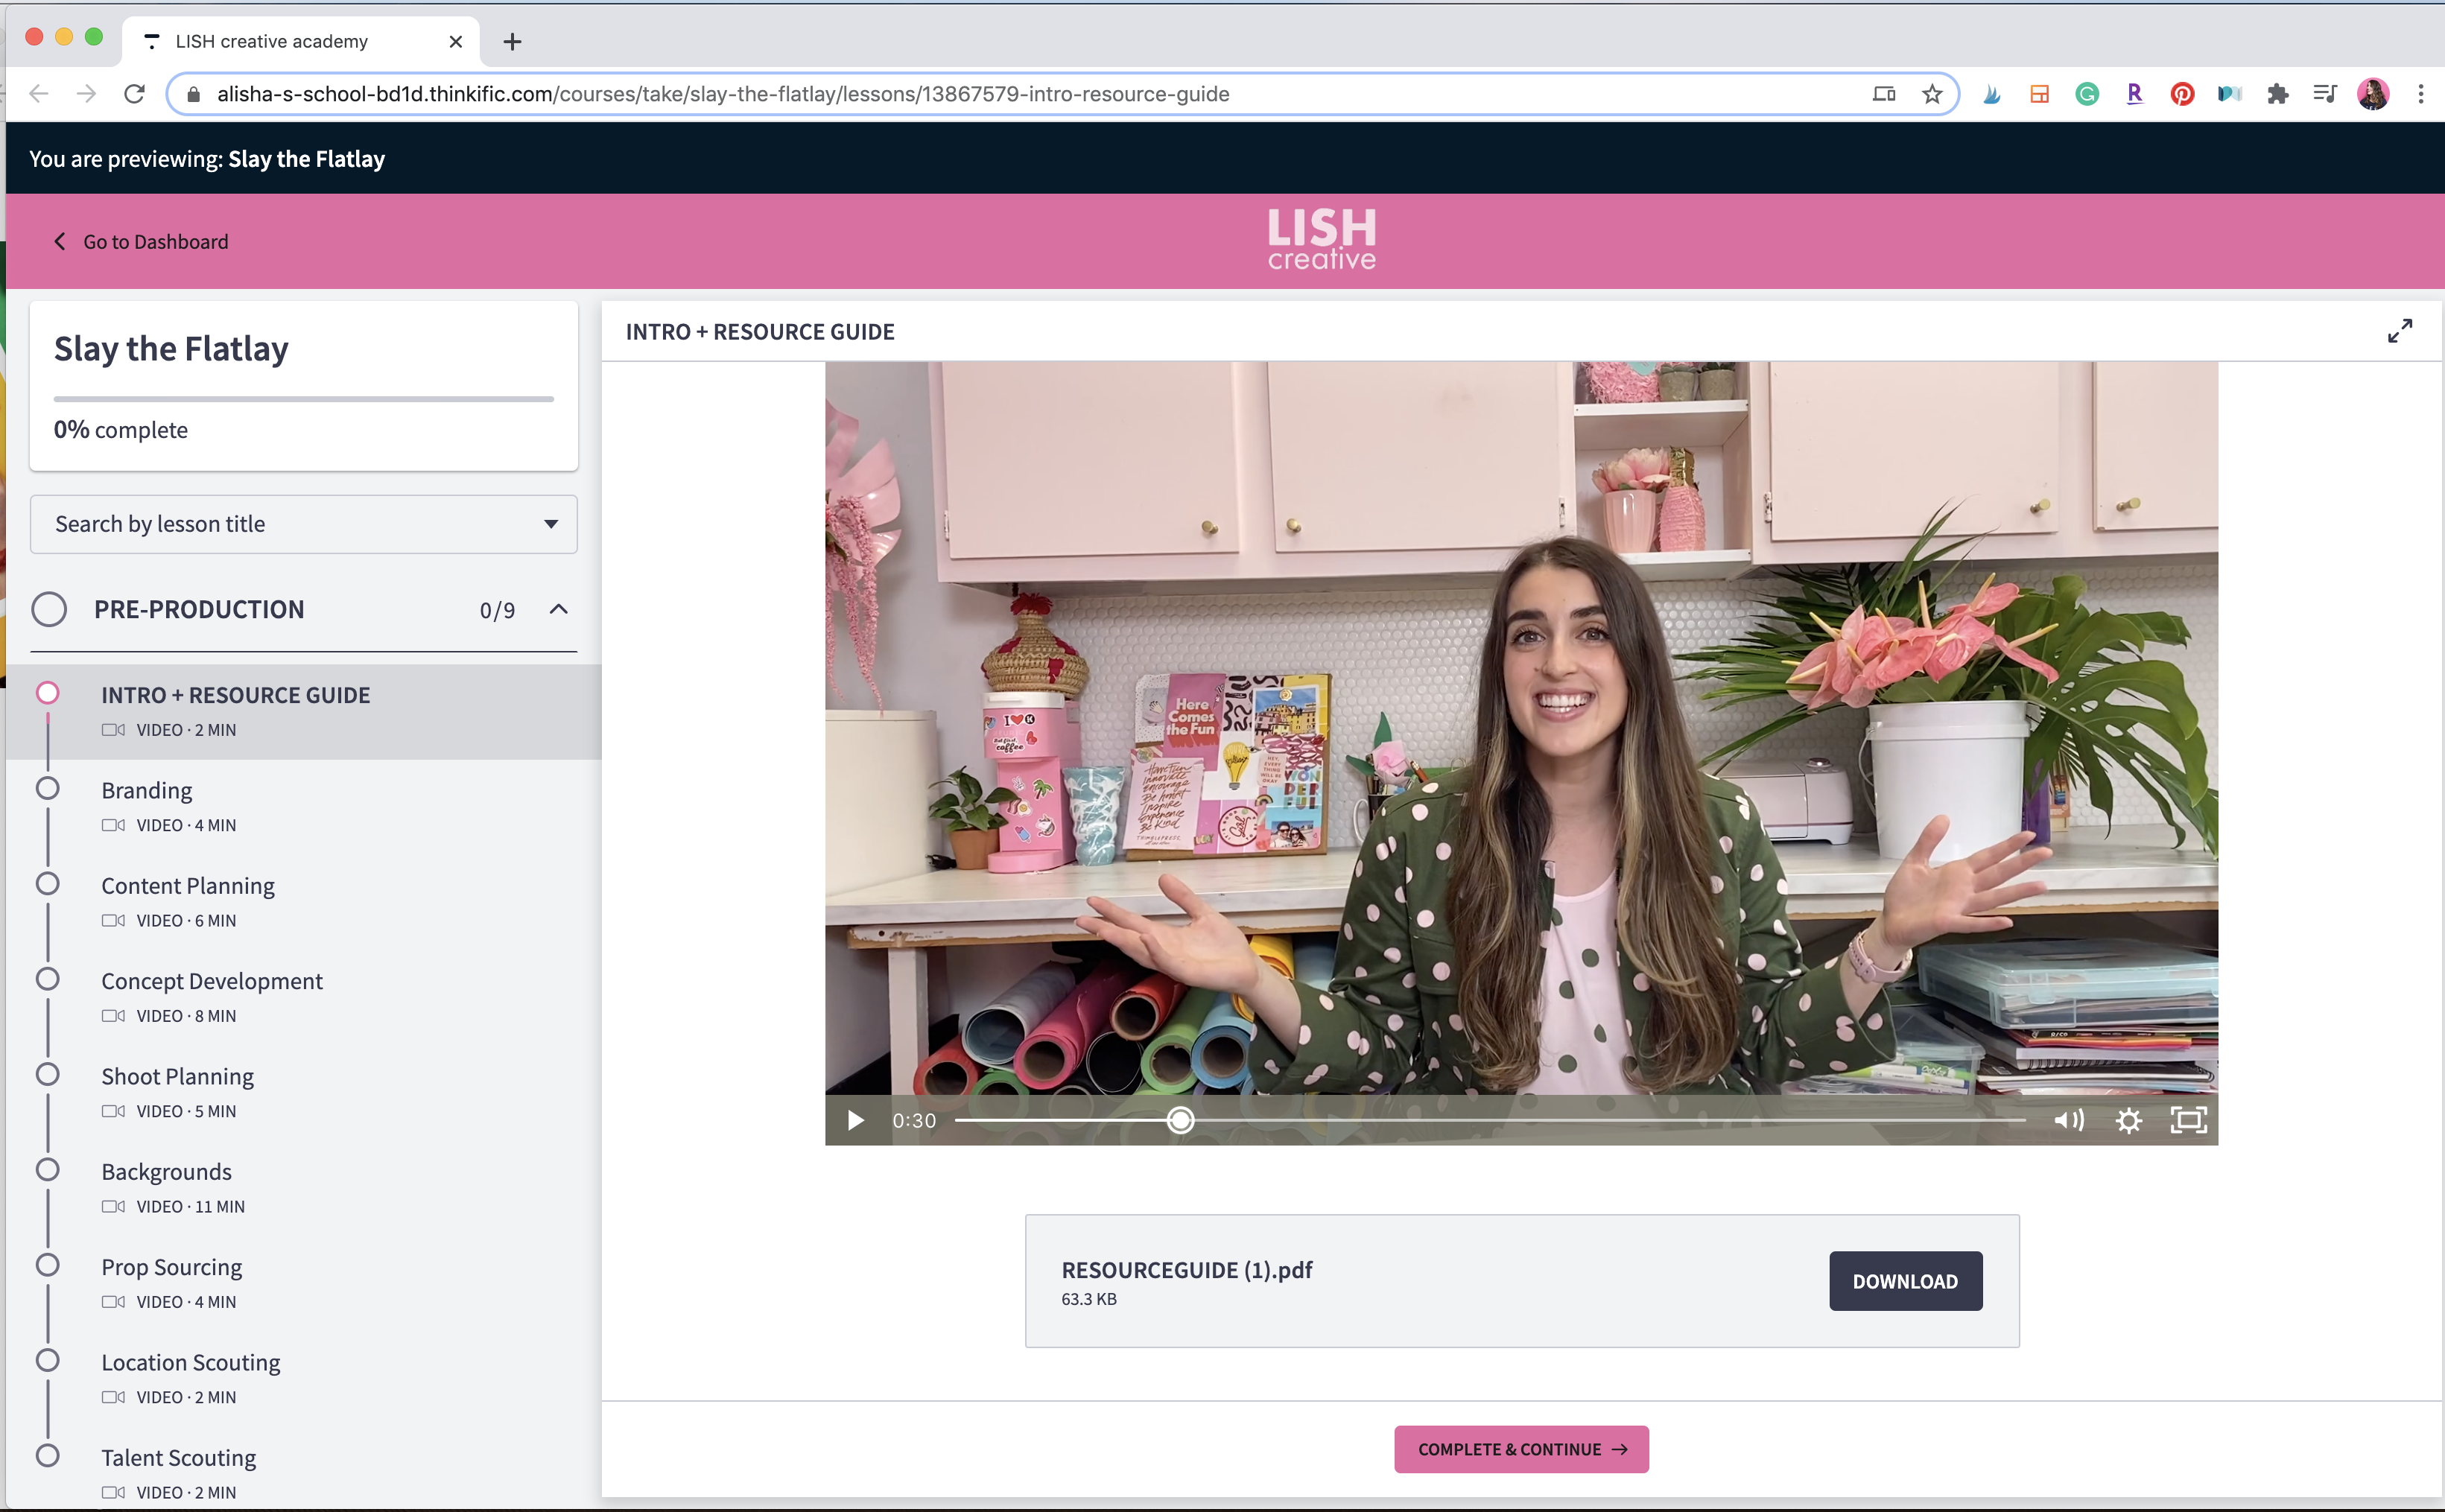
If you want to learn more about studio lighting, then join my course, Slay the Flatlay! Slay the Flatlay is an all-in-one resource for photography, styling, and stop-motion animation.
Lighting is a big part of it, too. You’ll learn how tweaking your lighting setup can create a totally different lighting effect and photo, what gear to use, the difference between strobe and continuous lighting, and sooo much more.
Save $50 on the course with the code SLAY and sign up here!


